Custom Laser
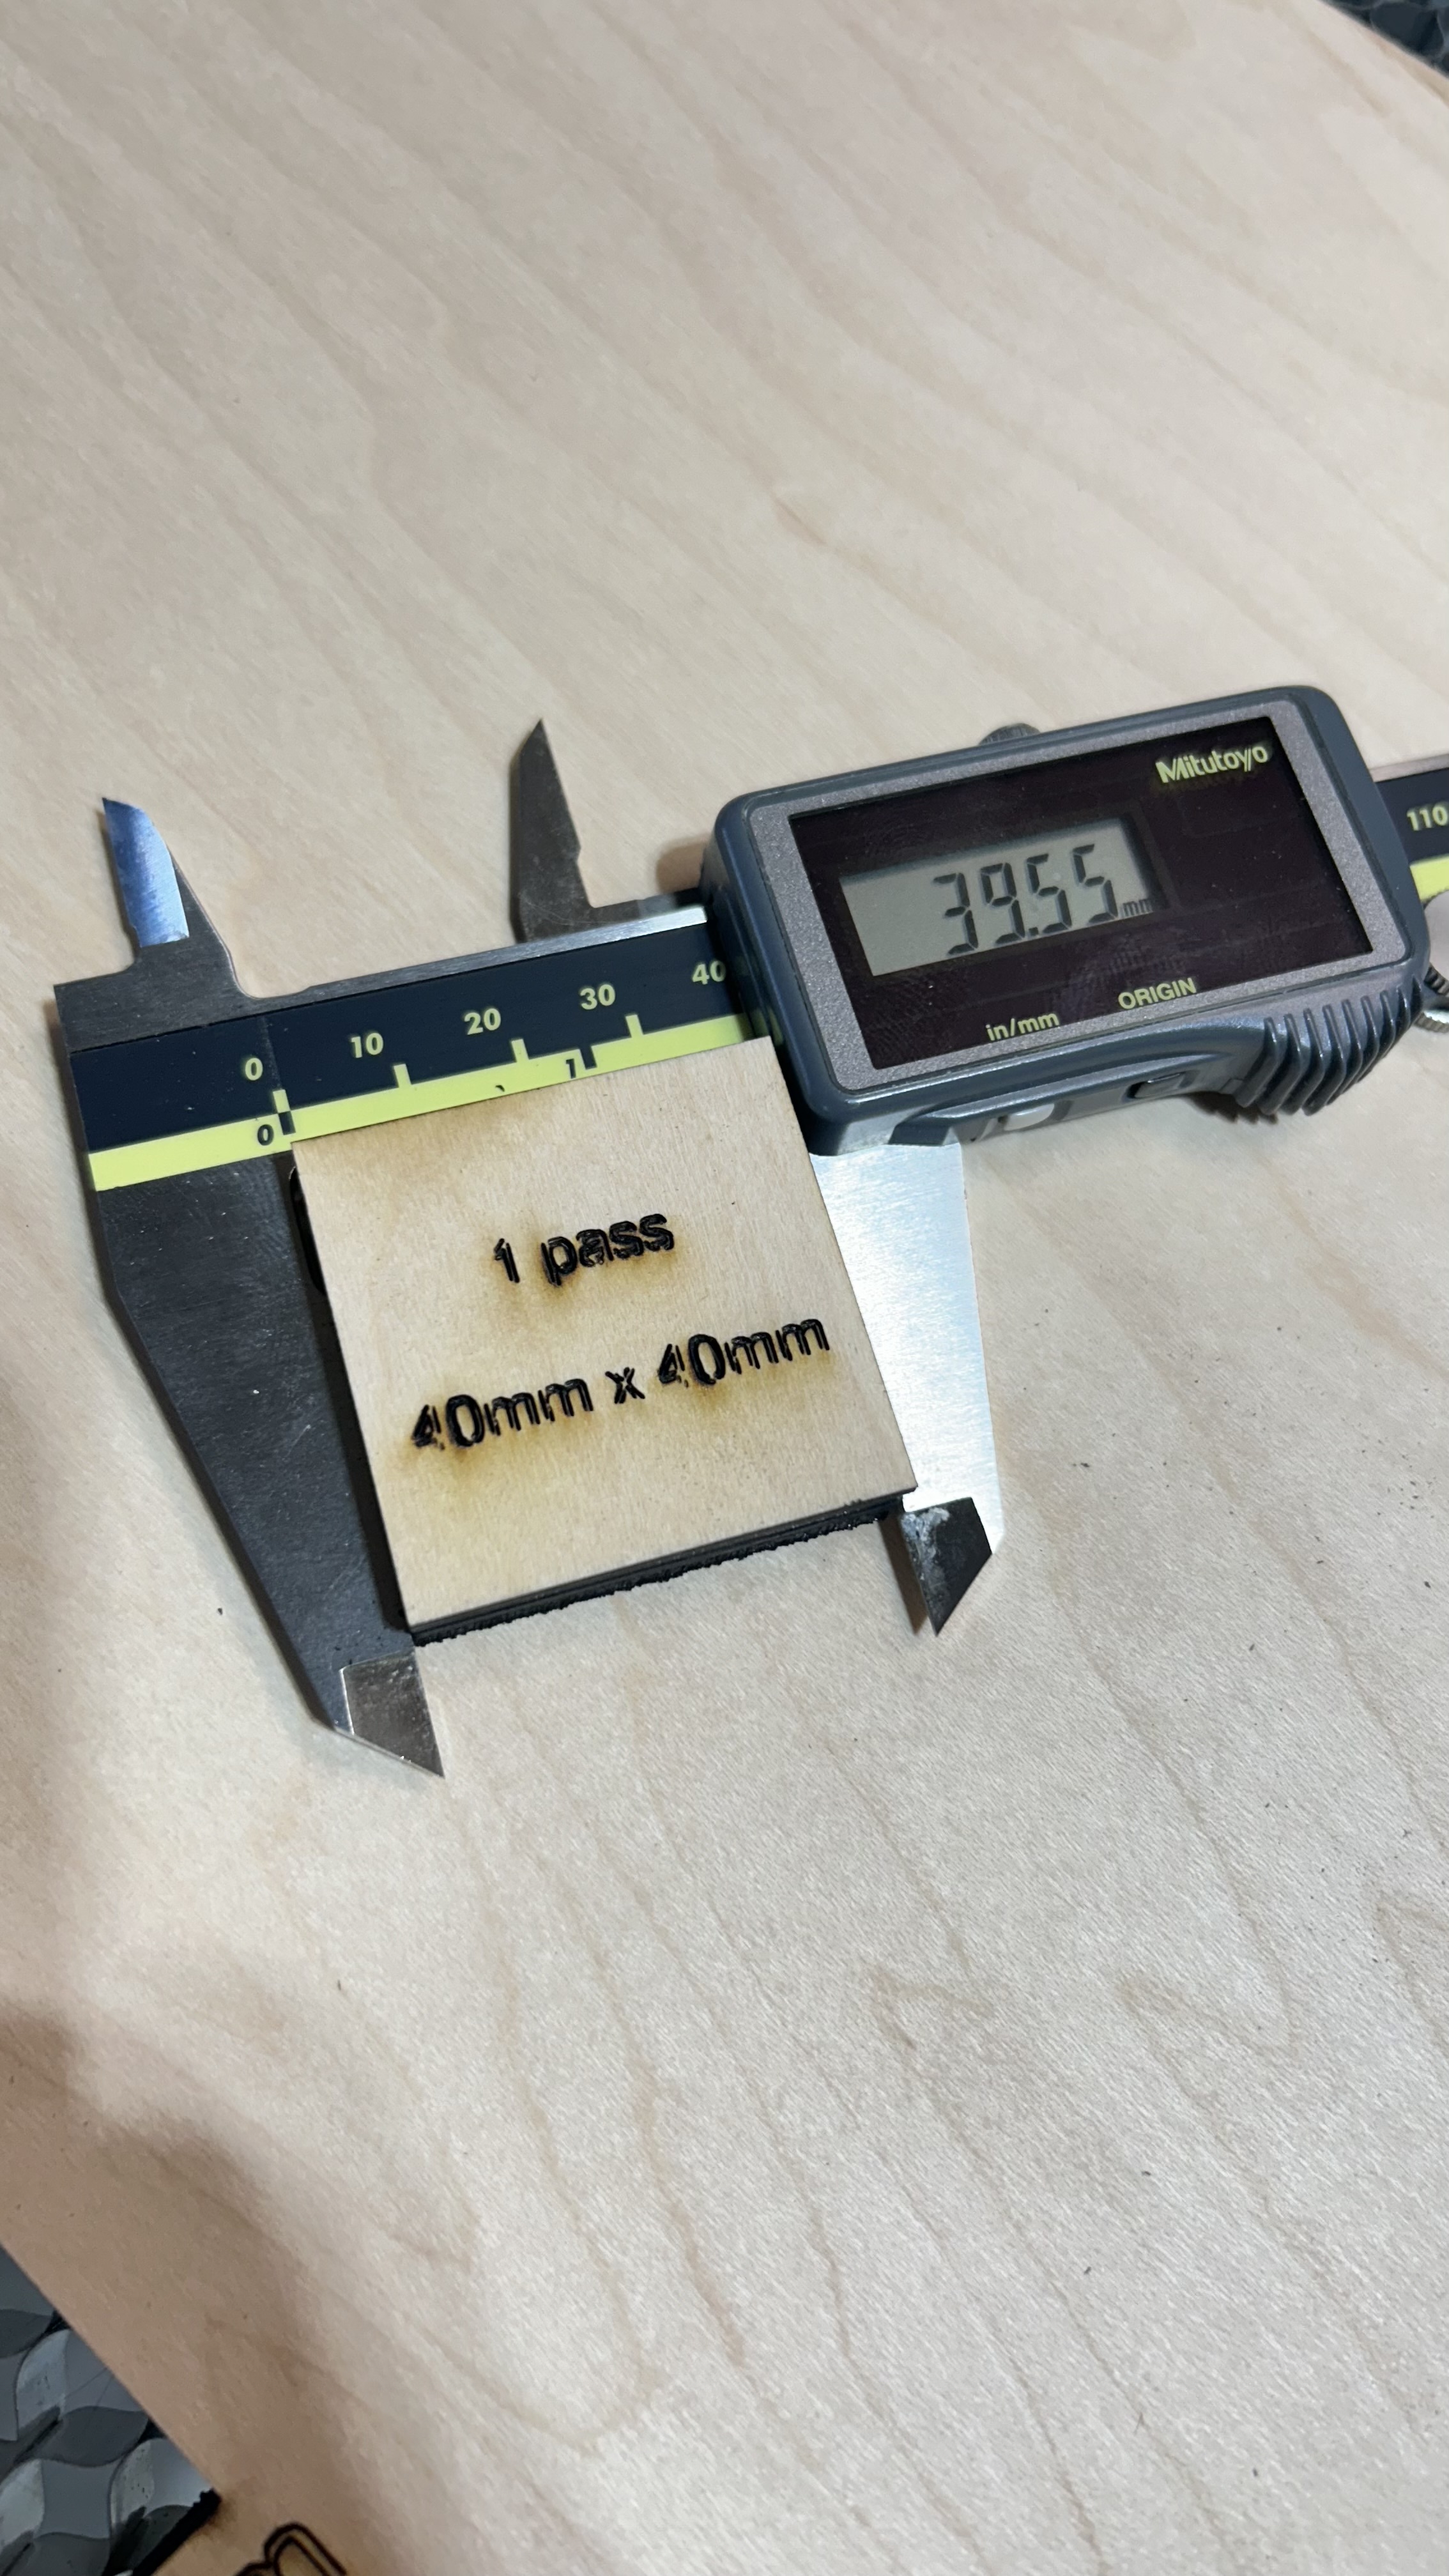
One of my biggest project ideas that I have always wanted to do was build a custom laser cutter. This specific laser cutter has taken approximately 2 years to design, redesign, and build. After hours of designing, building, and testing; the laser has finally come to life.
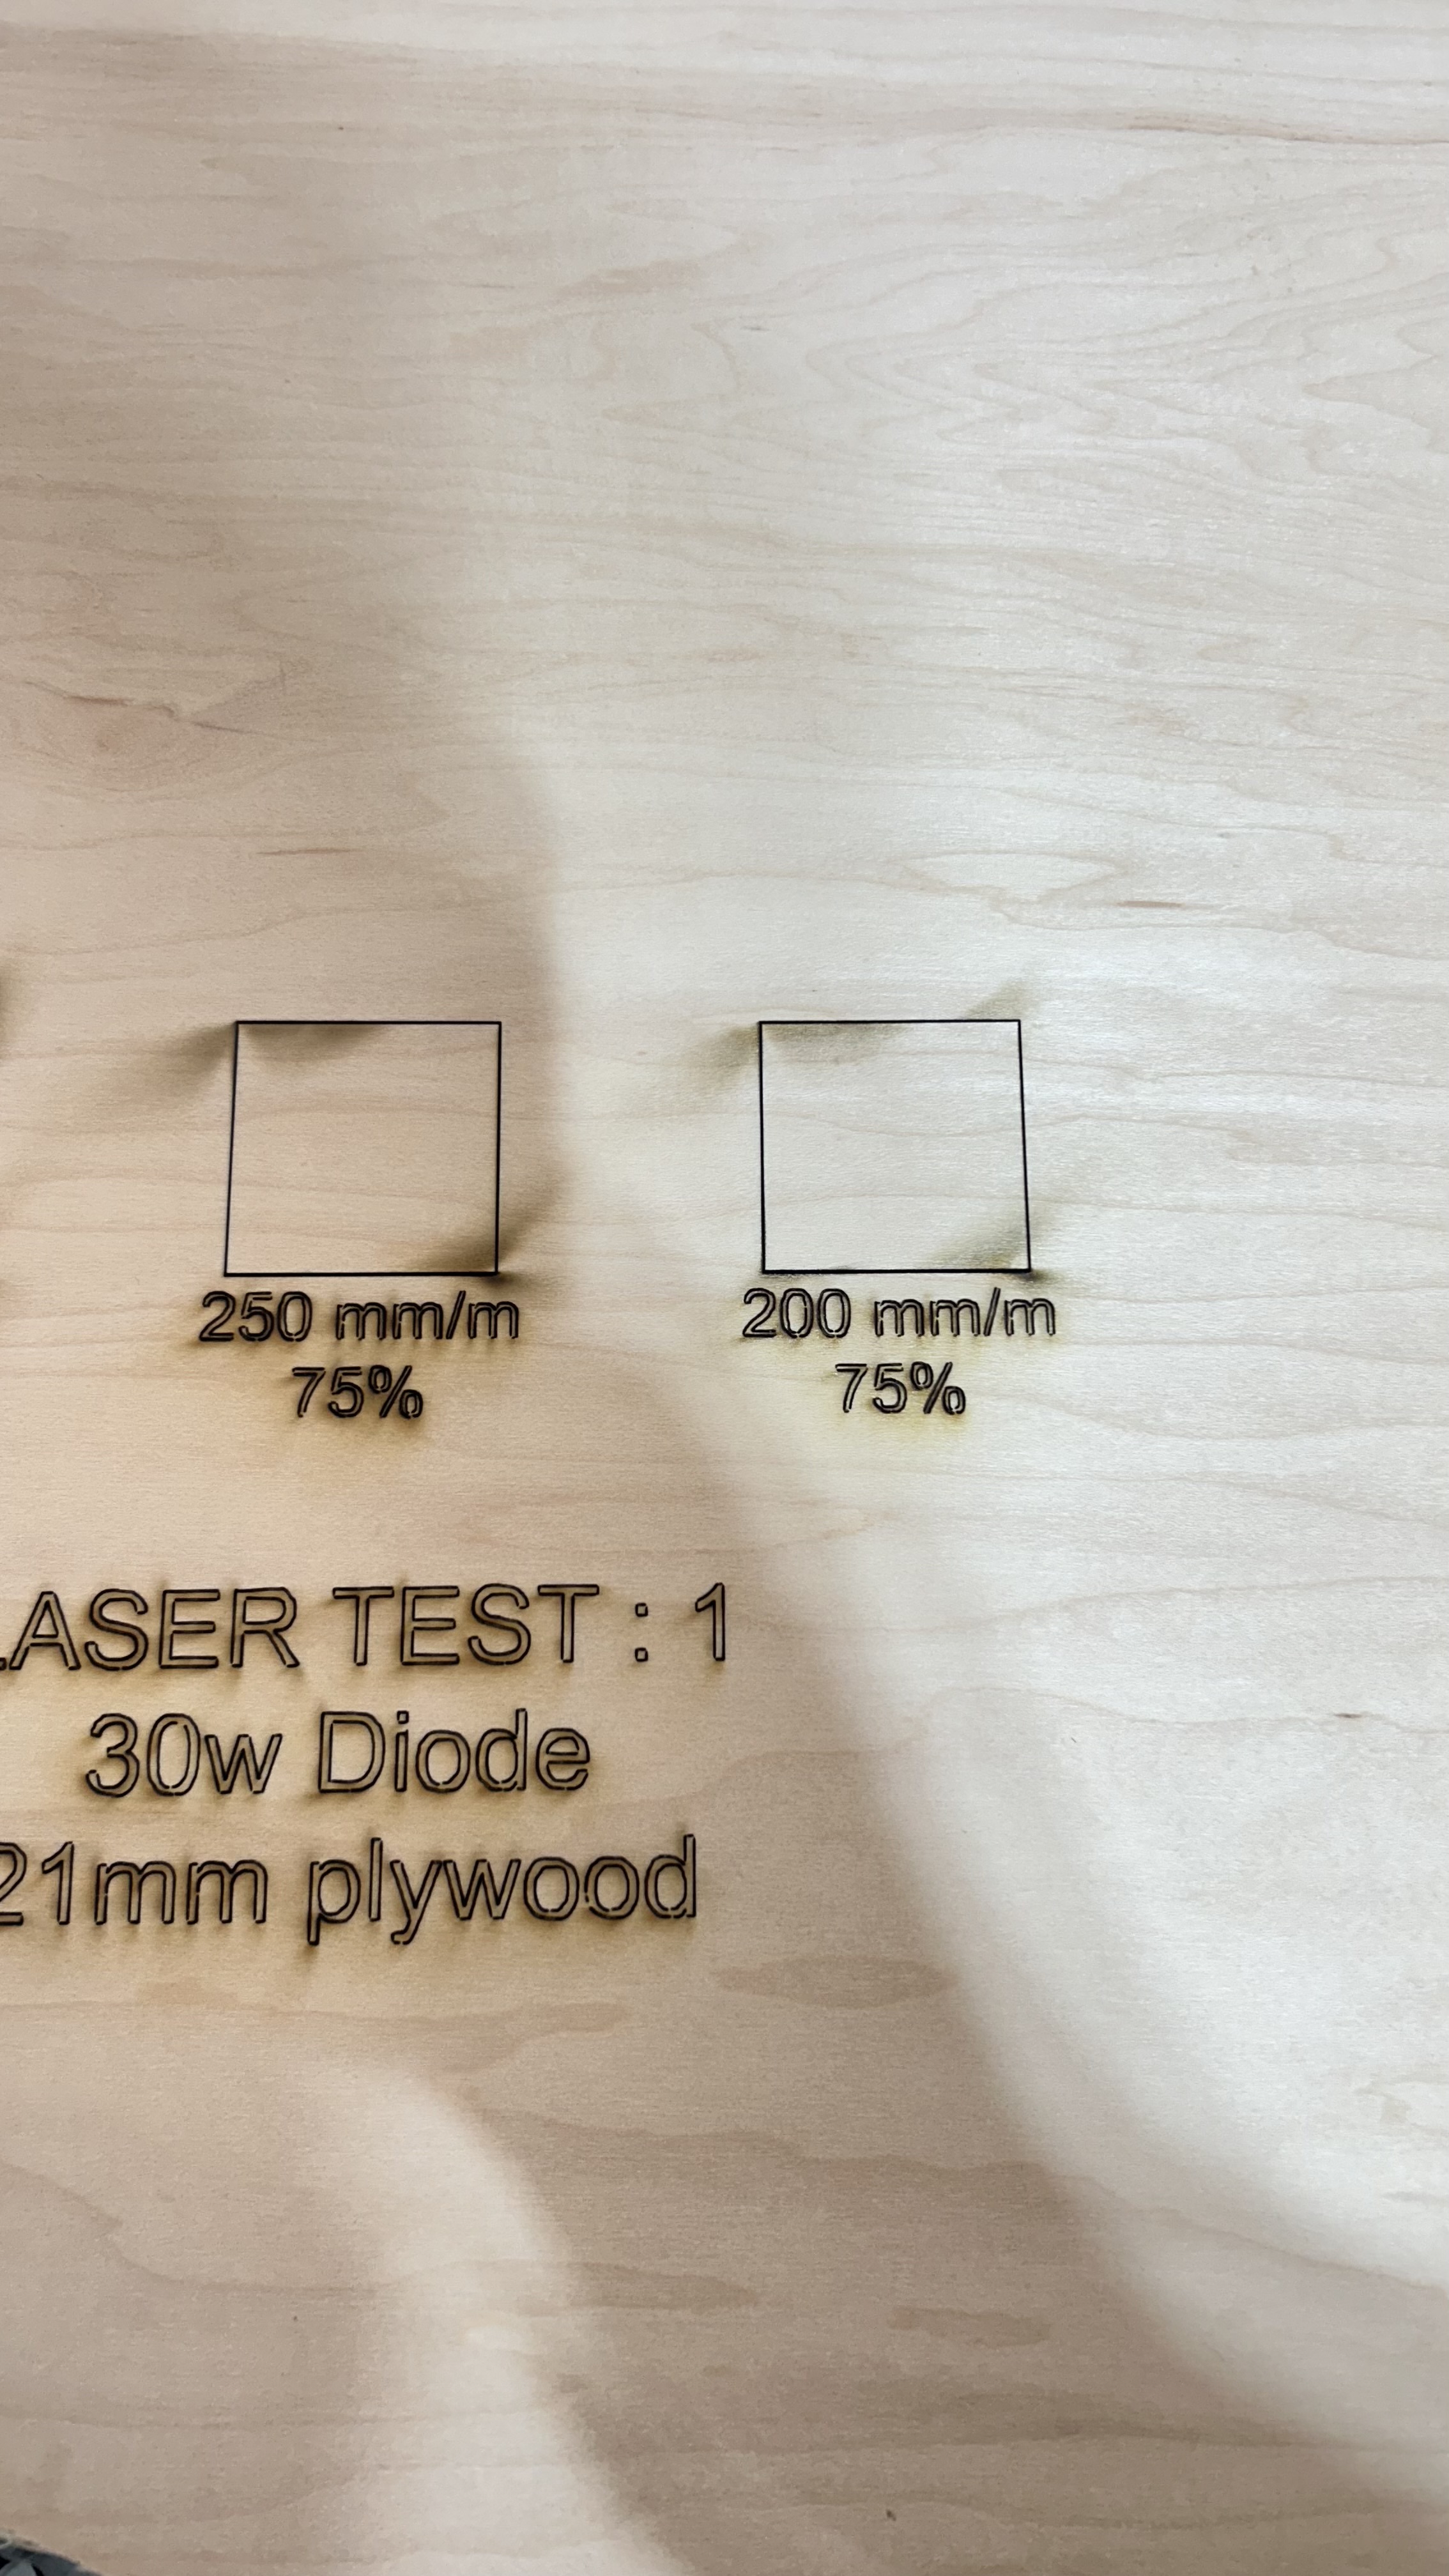
SAFETY FIRST. If you plan to build any laser, consider safety as one of the most important topics. These lasers will cause permanent eye damage if you don't execute proper safety. Furthermore, lasers burn things. Things that burn can catch fire. Fires can spread. Have a fire extinguisher and other mechanical / electrical safety mechanisms in place to protect yourself.
This machine uses the following to power the laser:
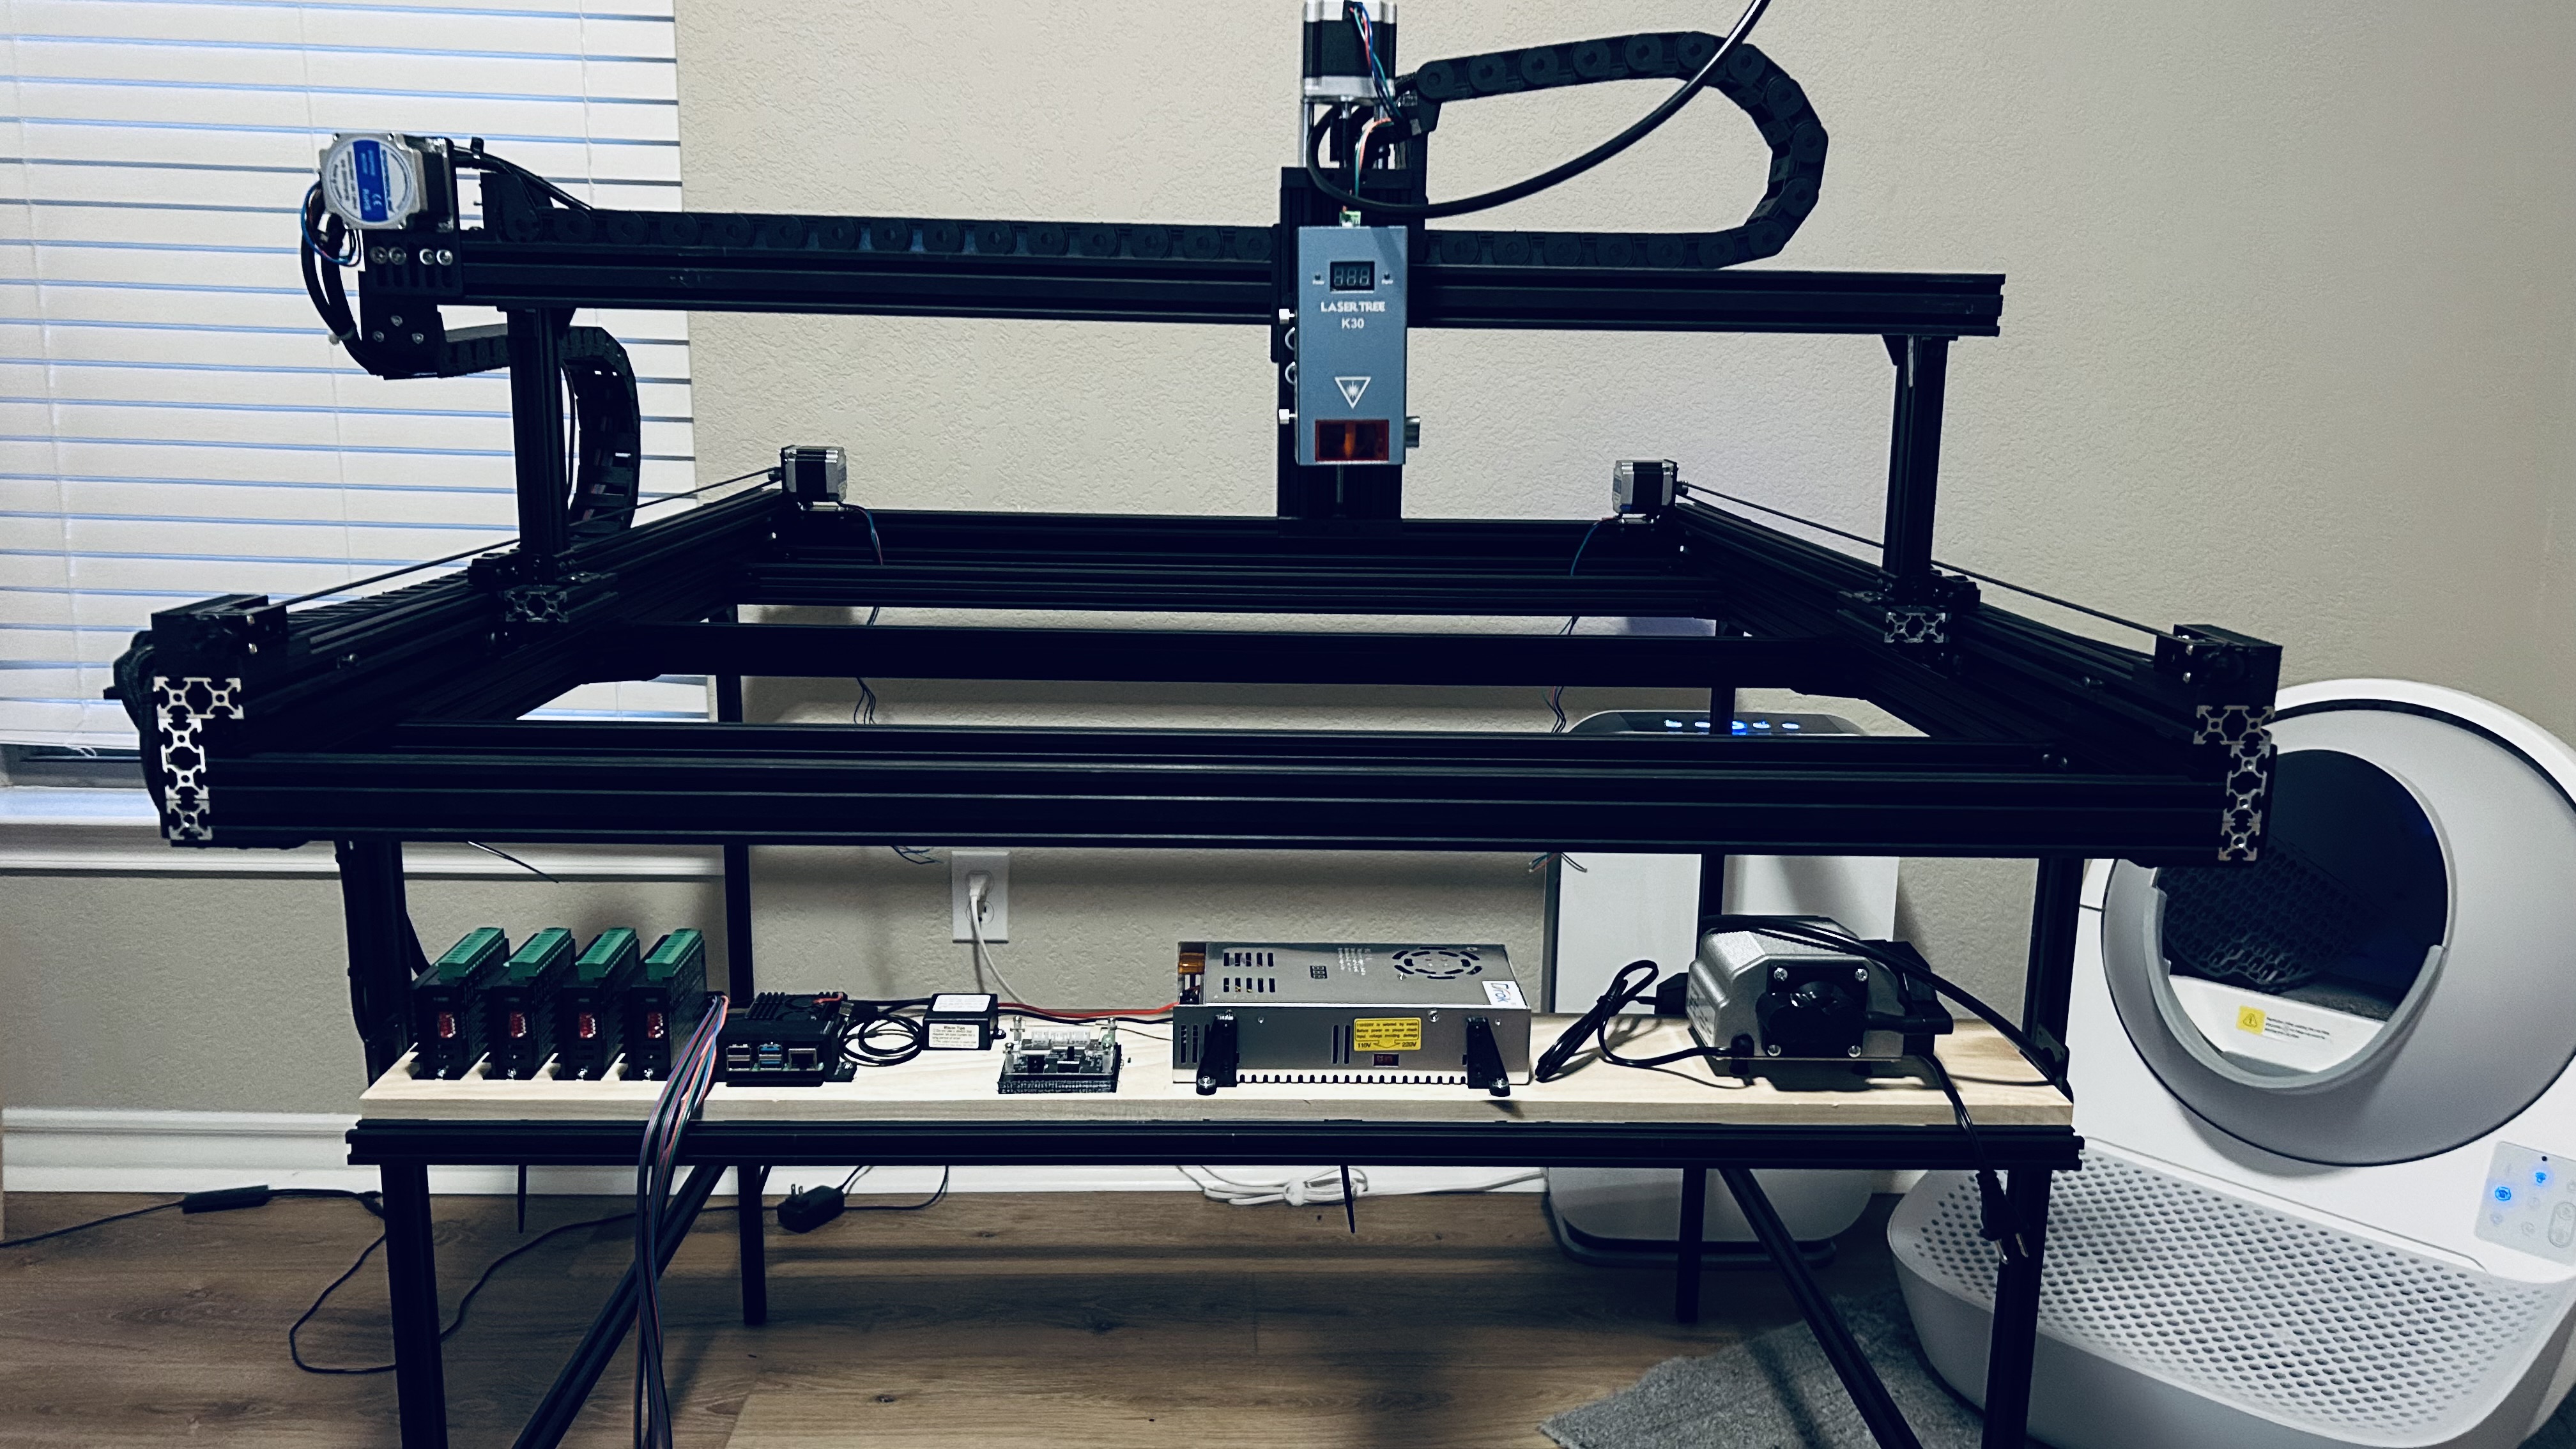
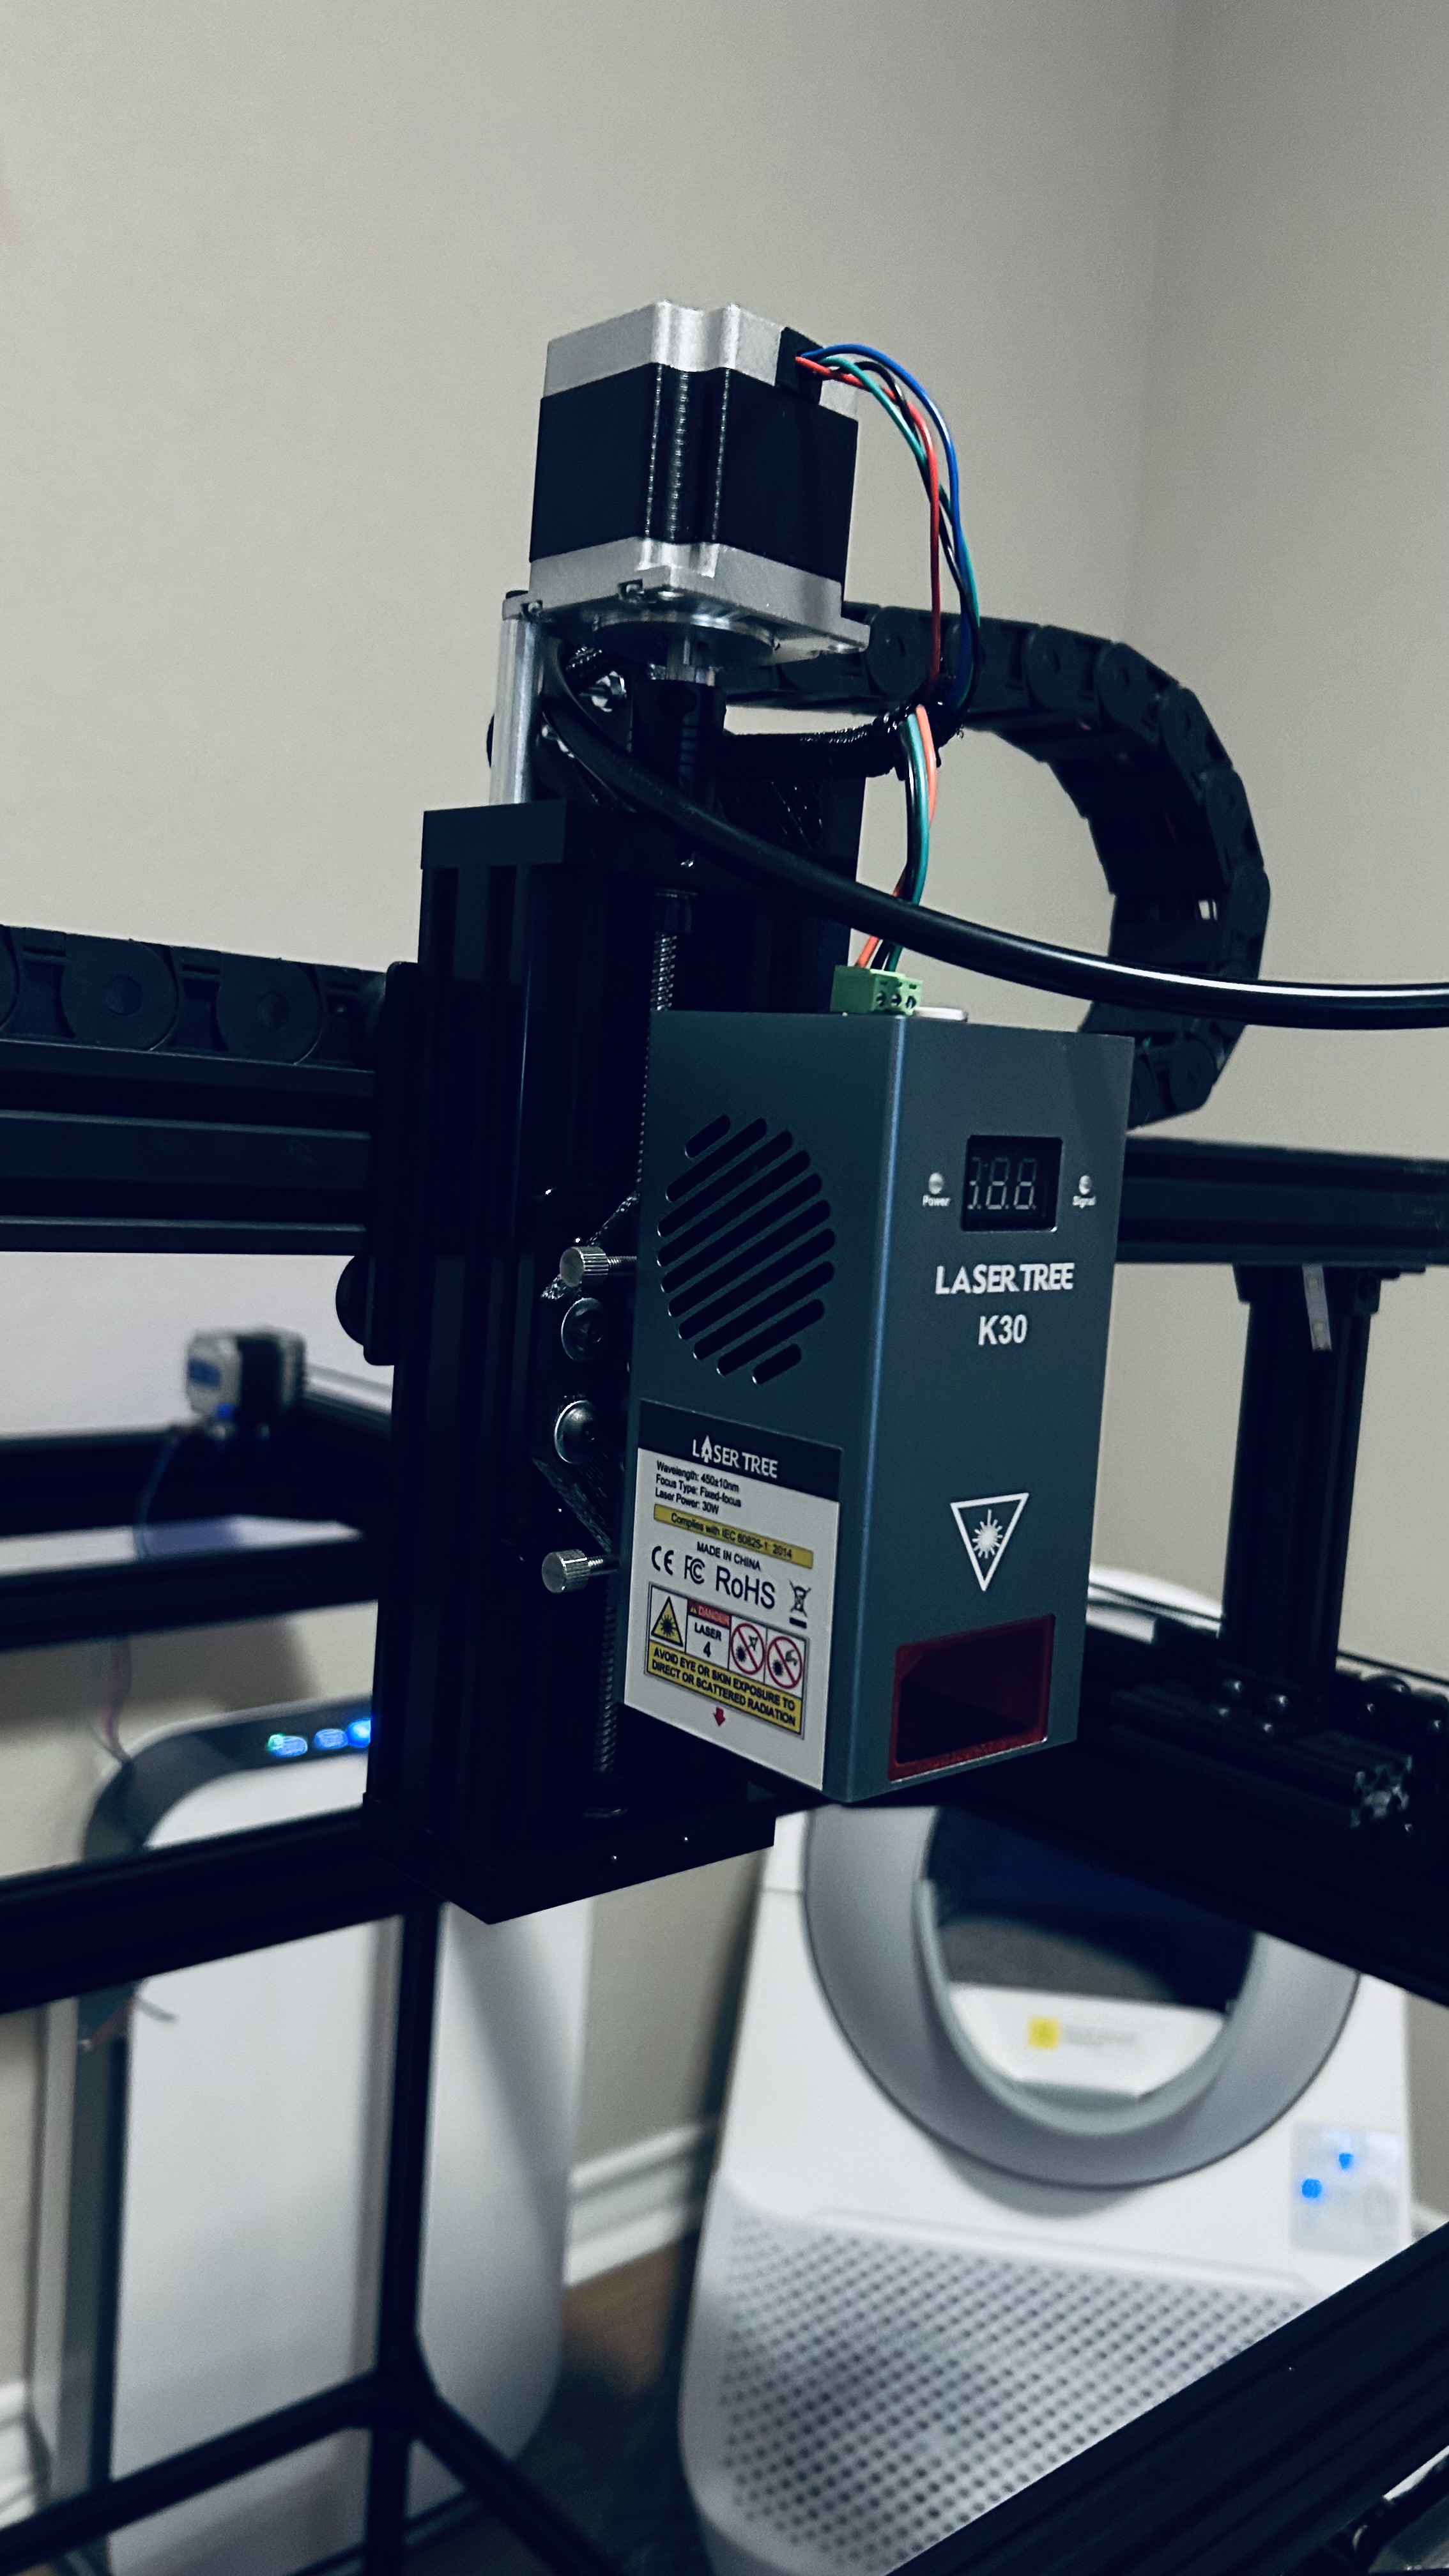
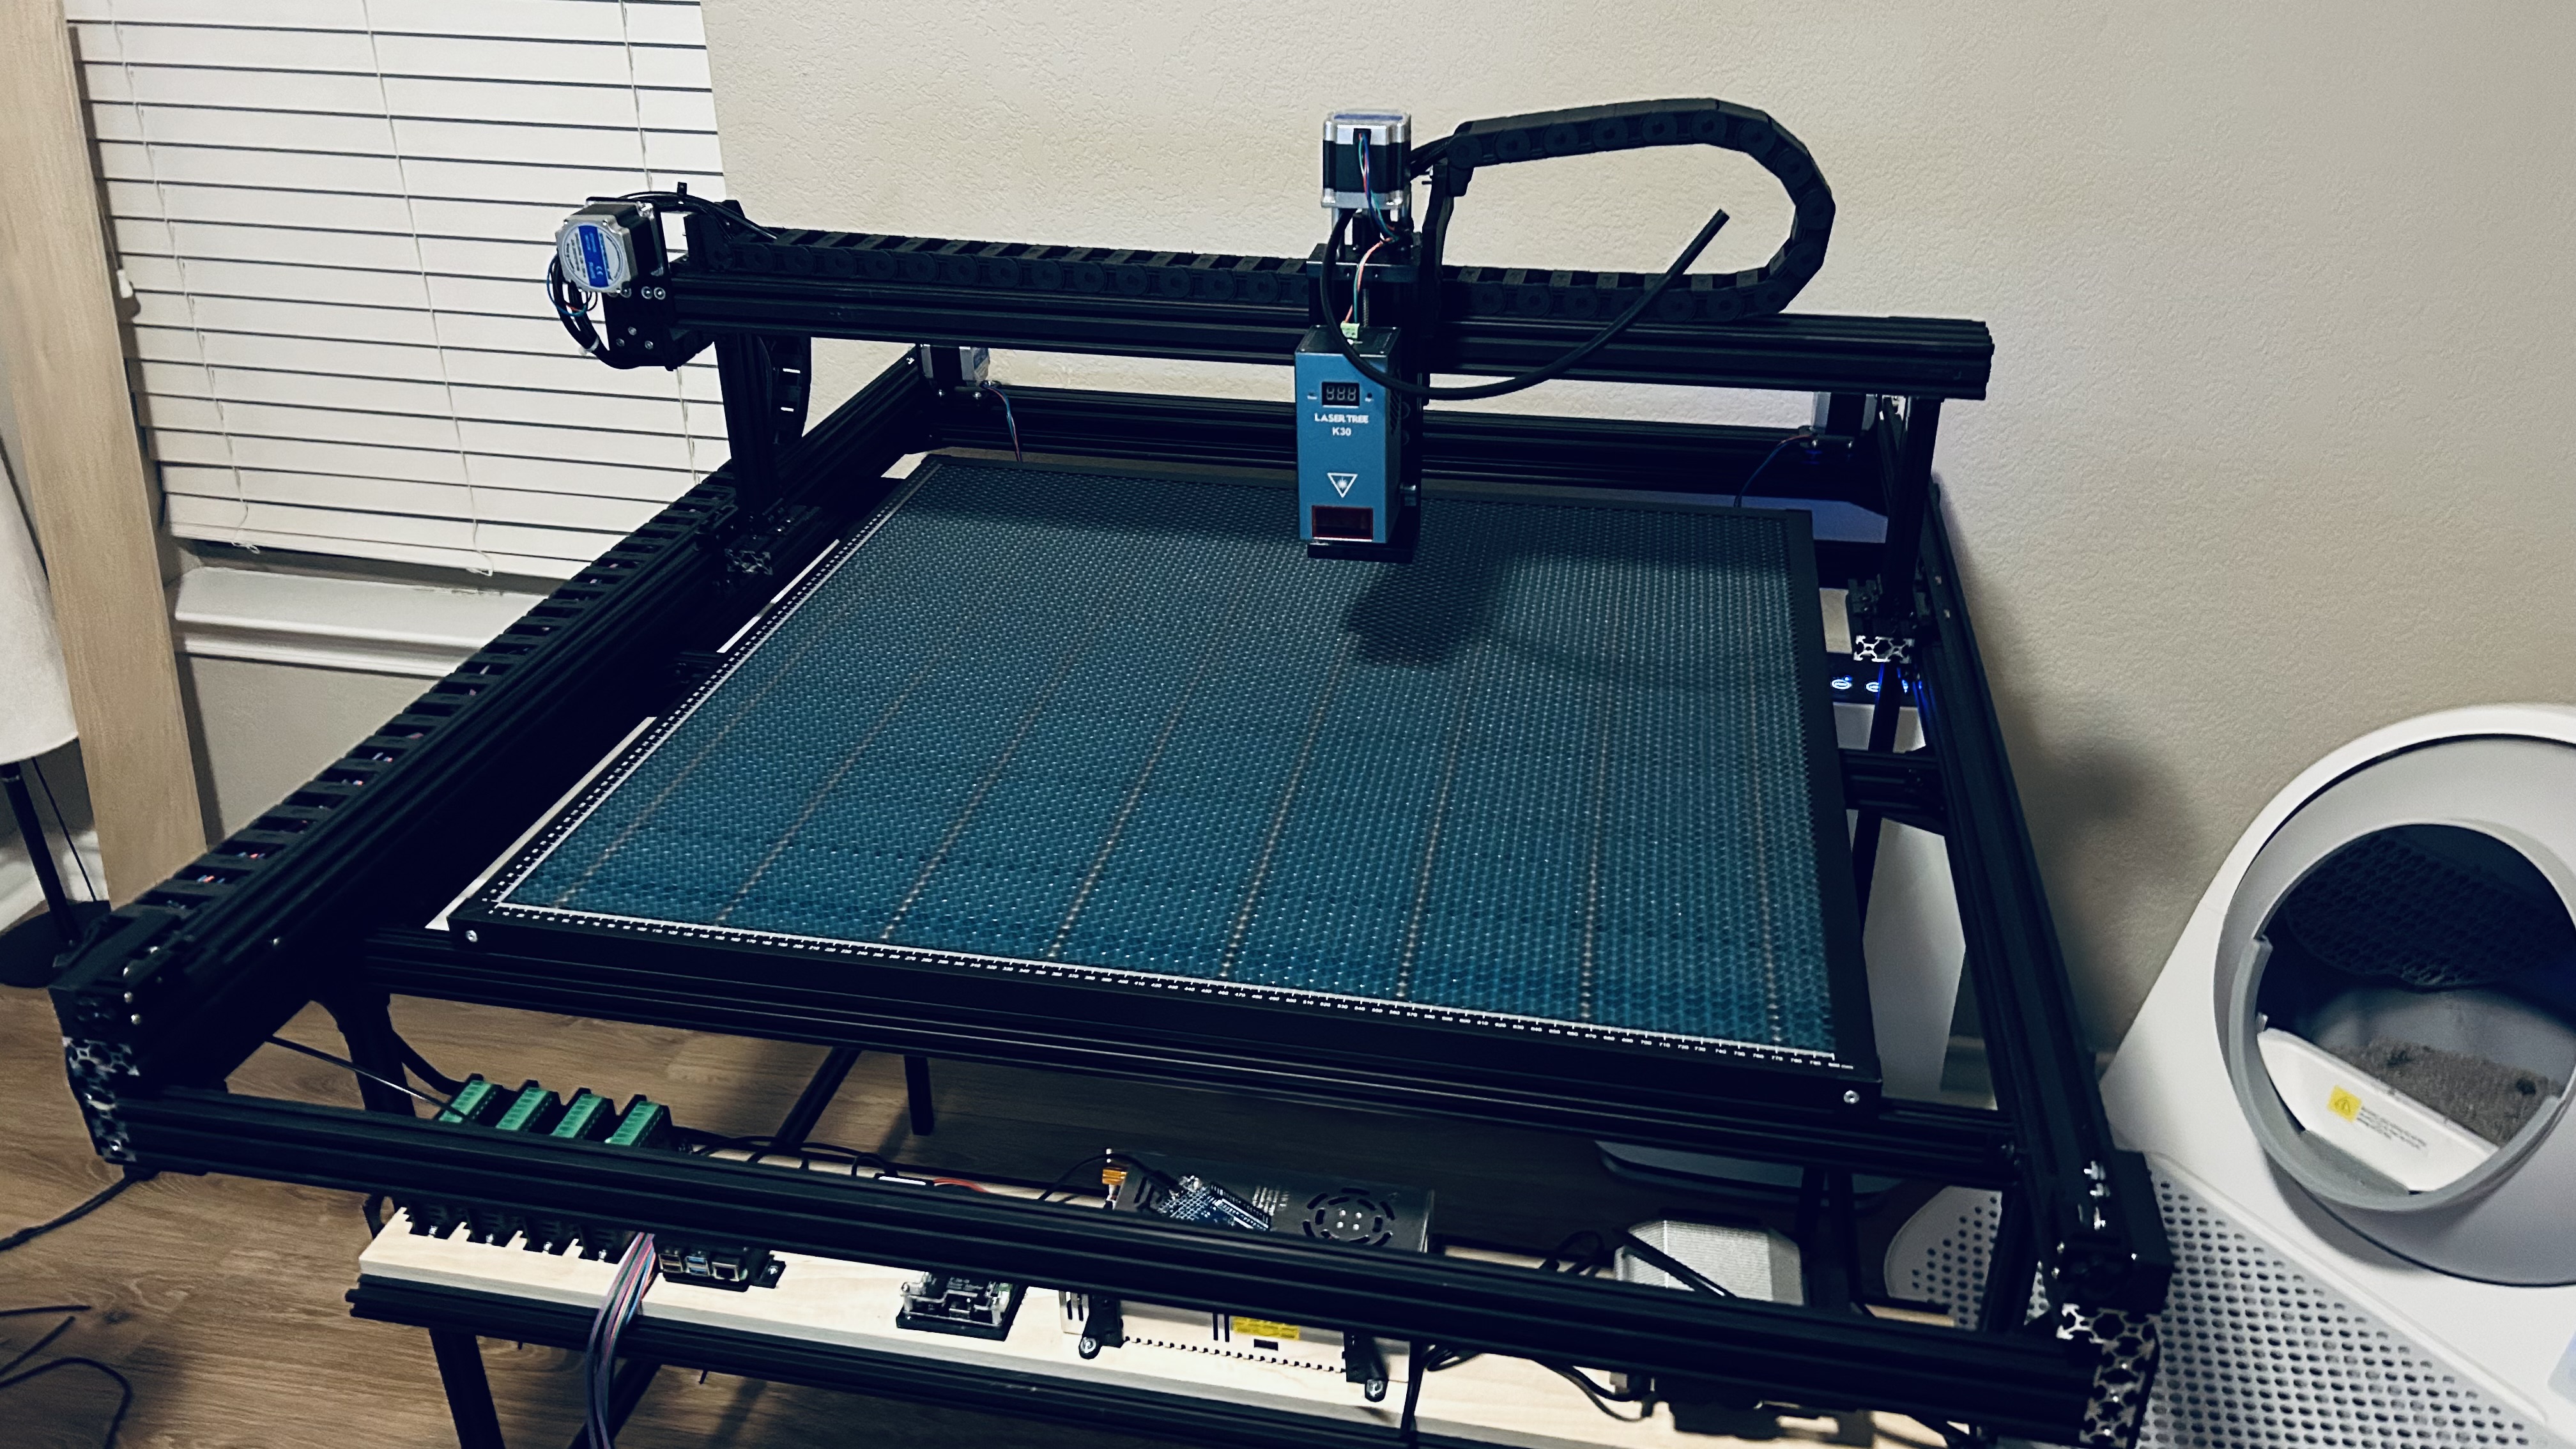
- LaserTree K30 Diode Laser
- BigTreeTech Rodent CNC Controller Board
- 24V / 15A Power Switching Unit
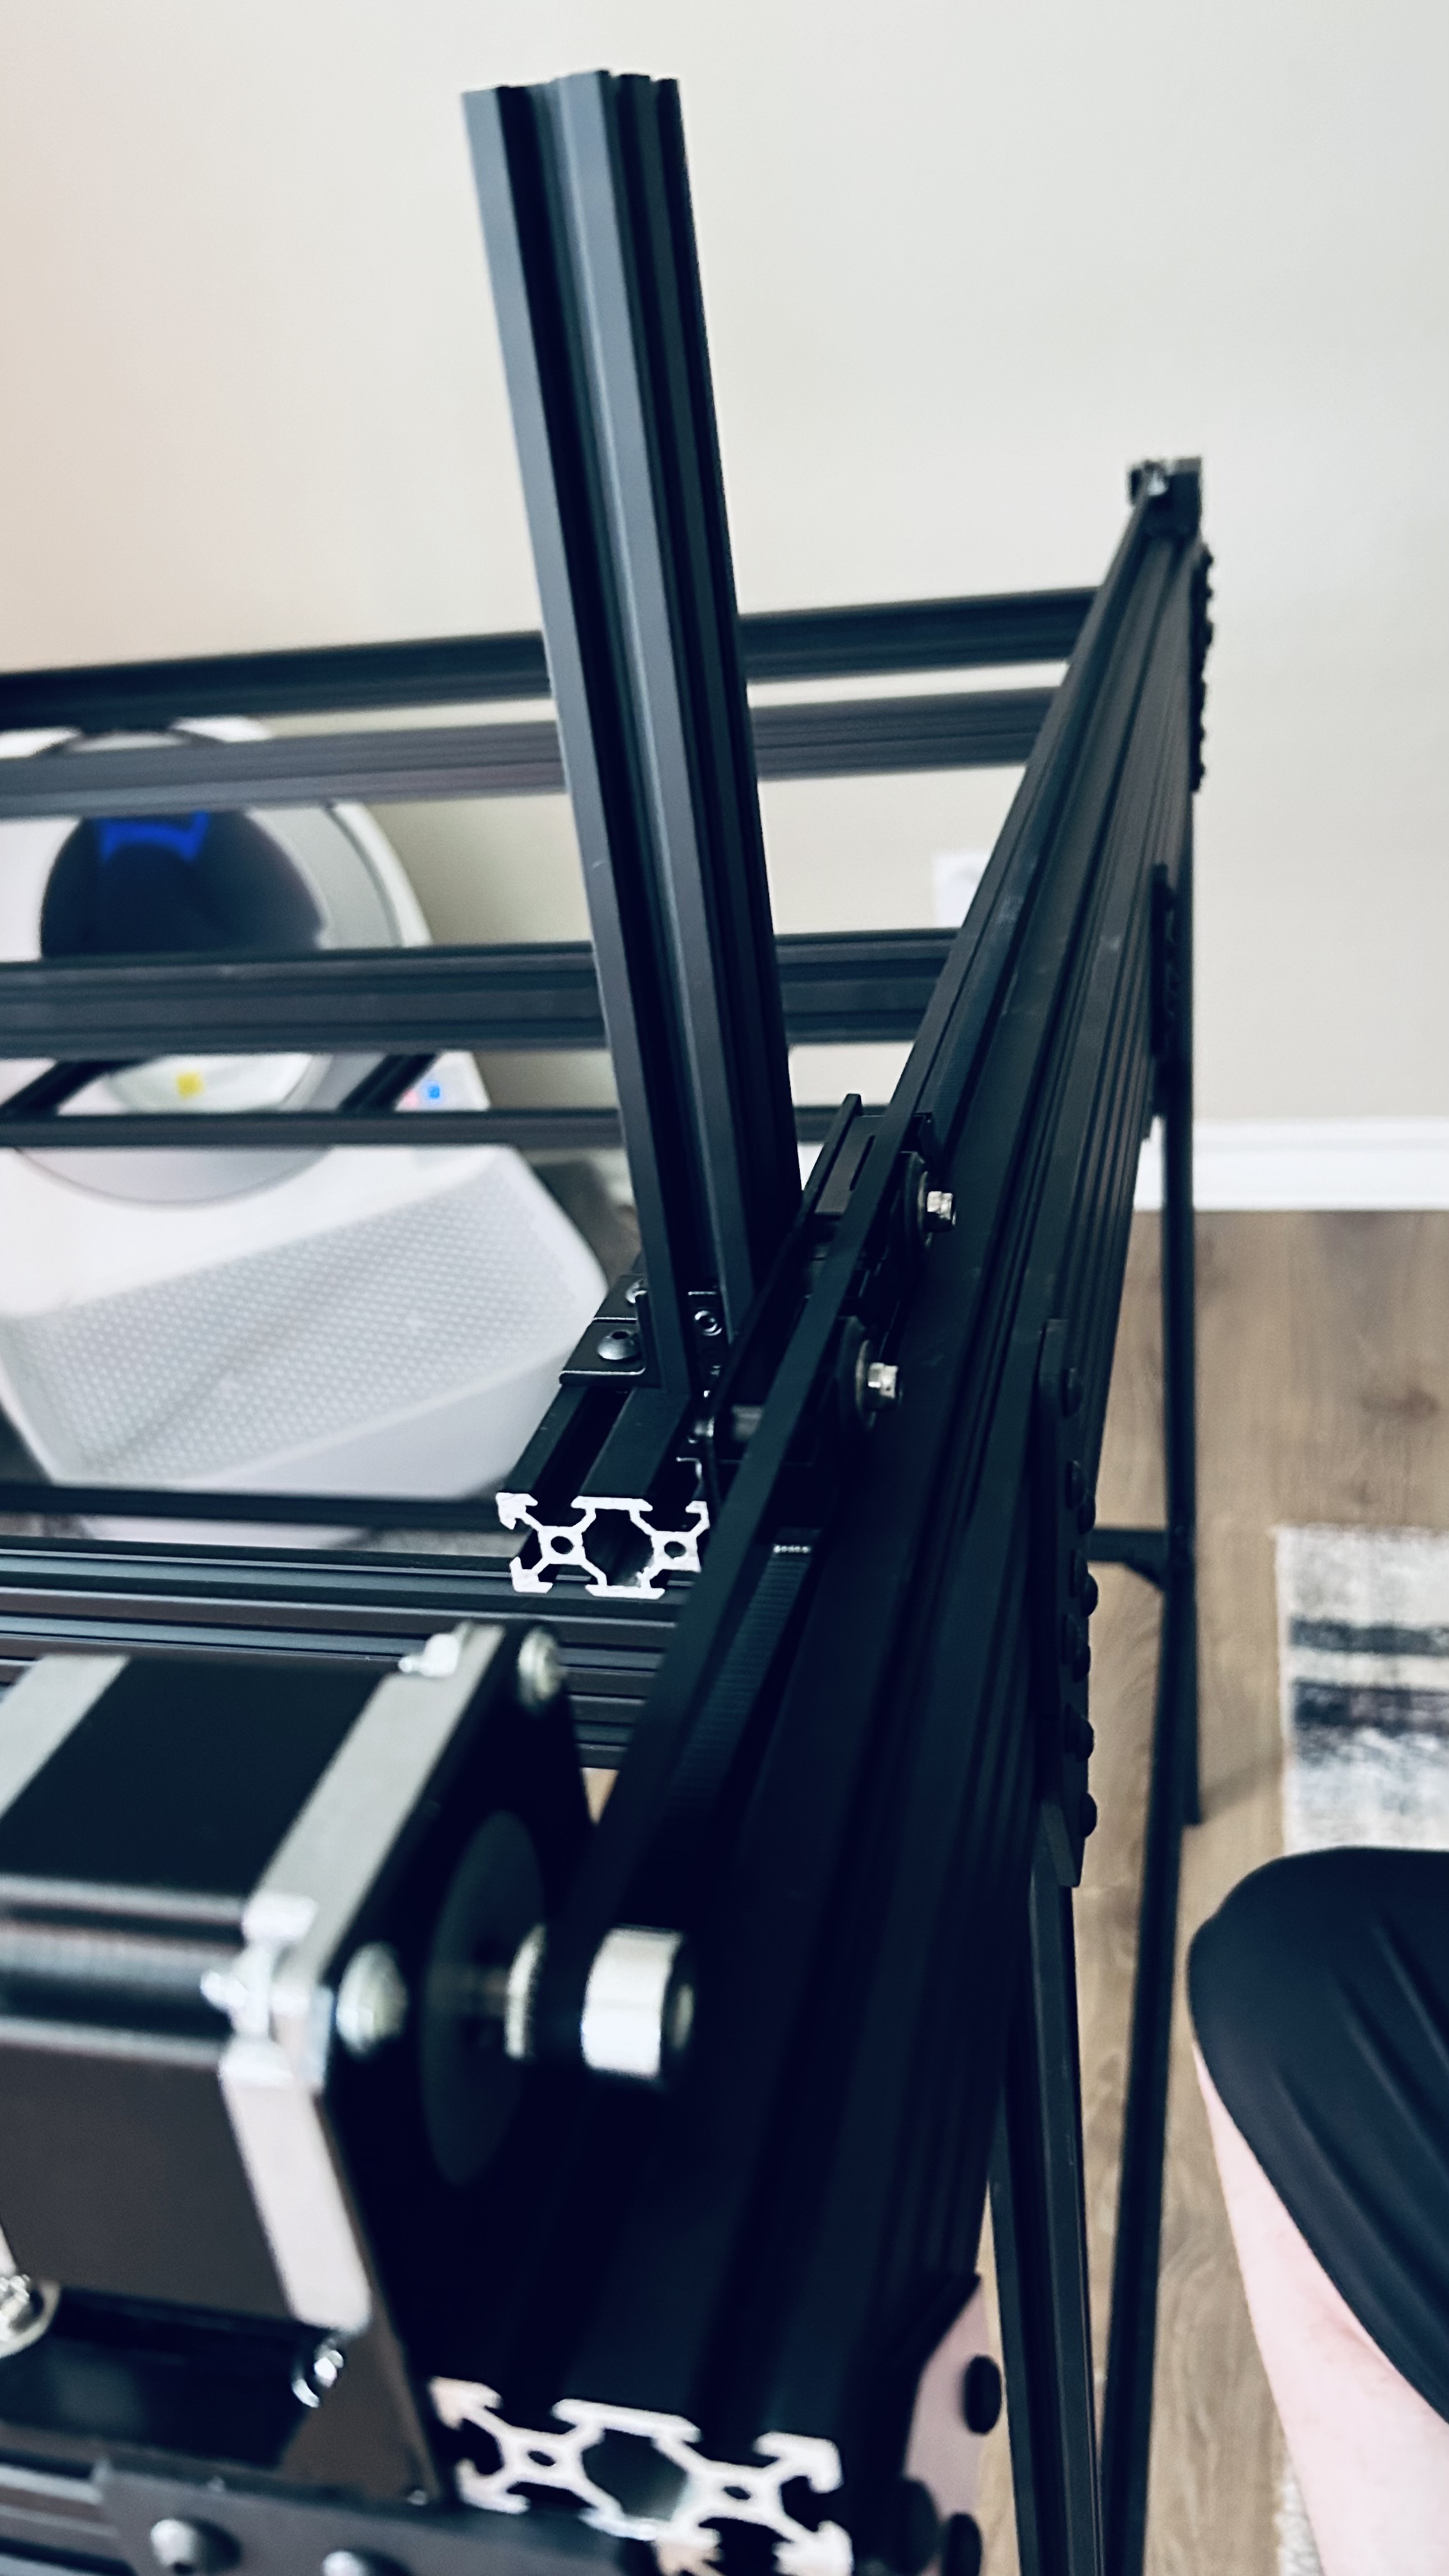
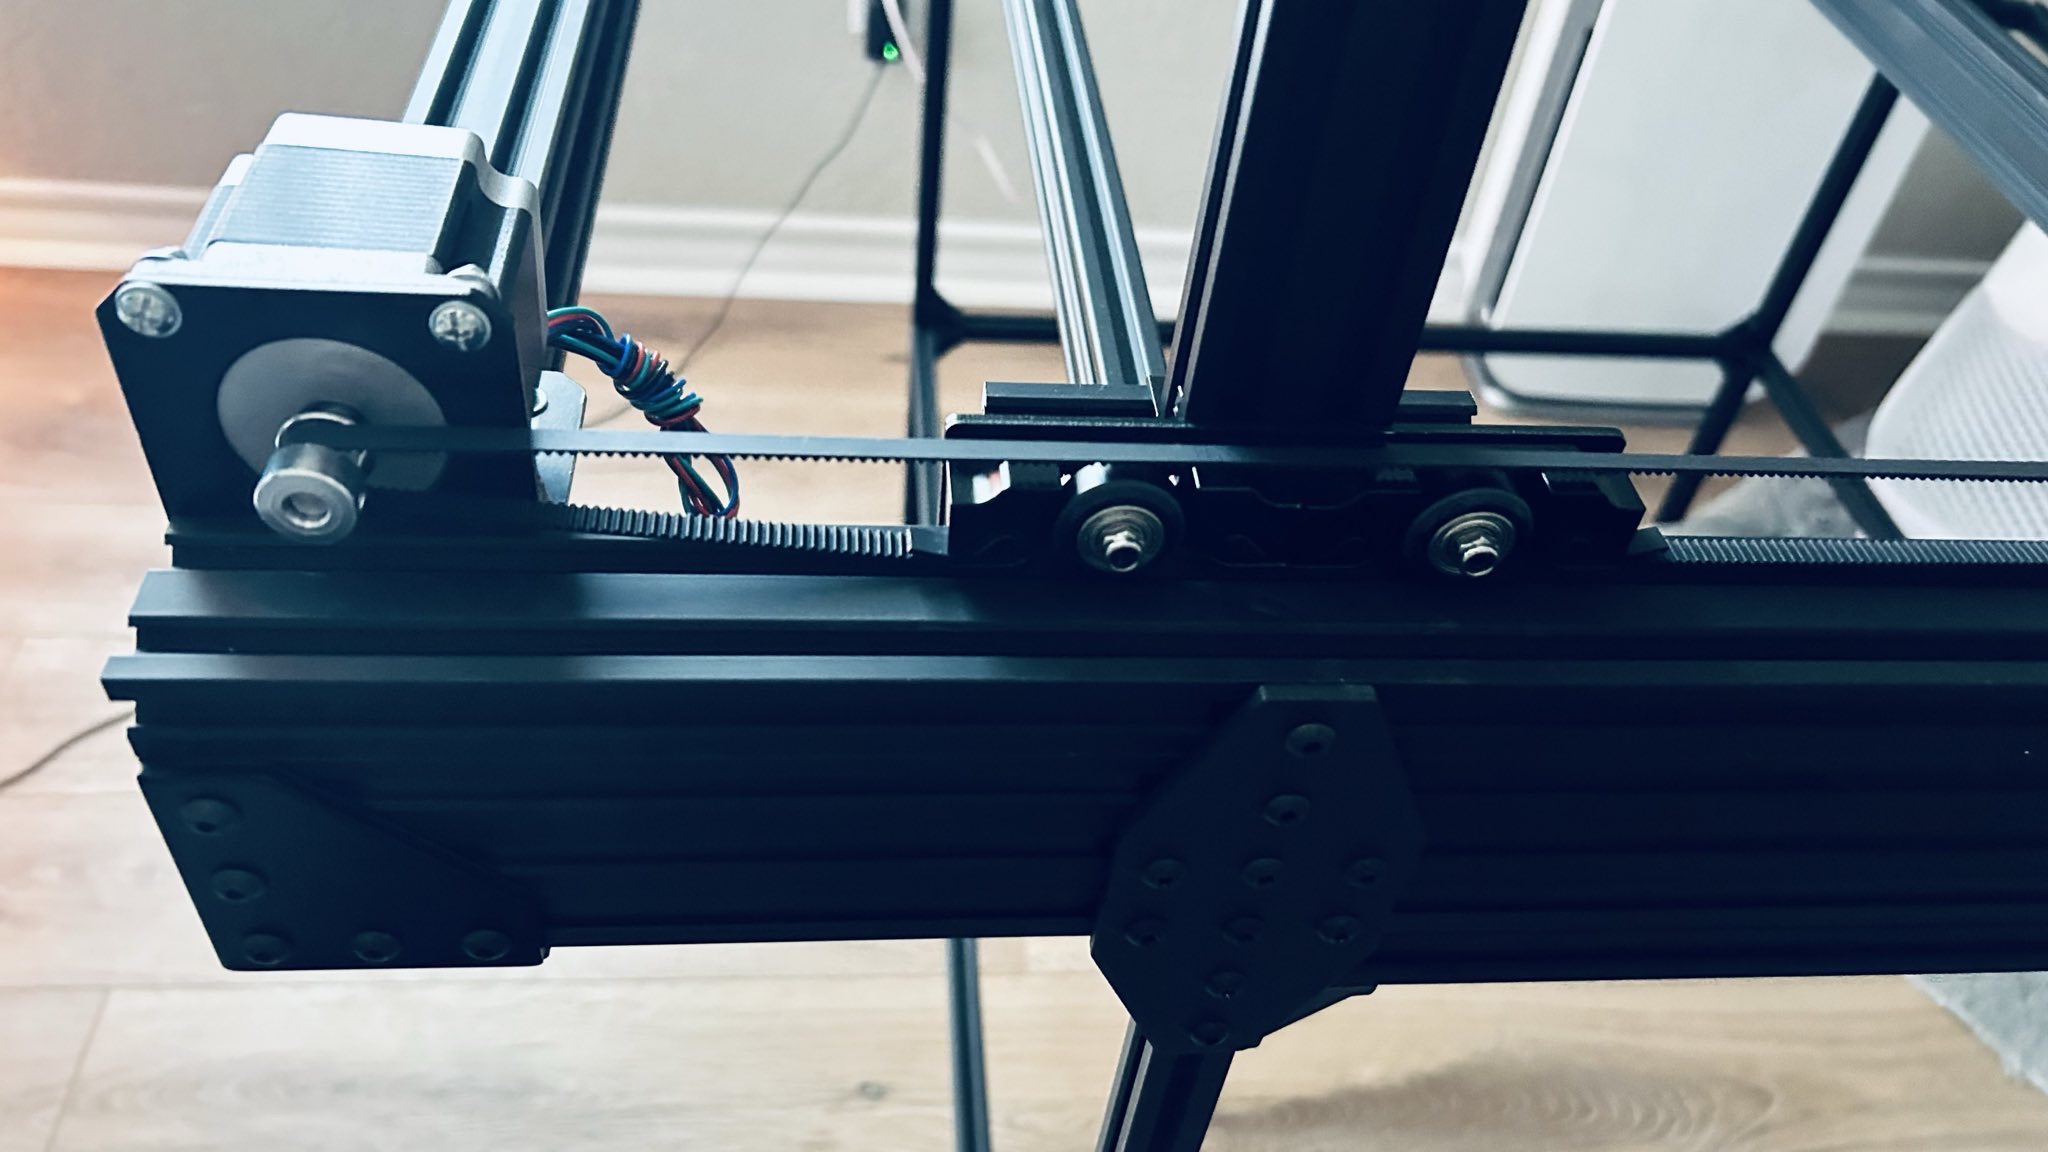
- 3x NEMA 23 stepper motors (single X drive, dual Y drive)
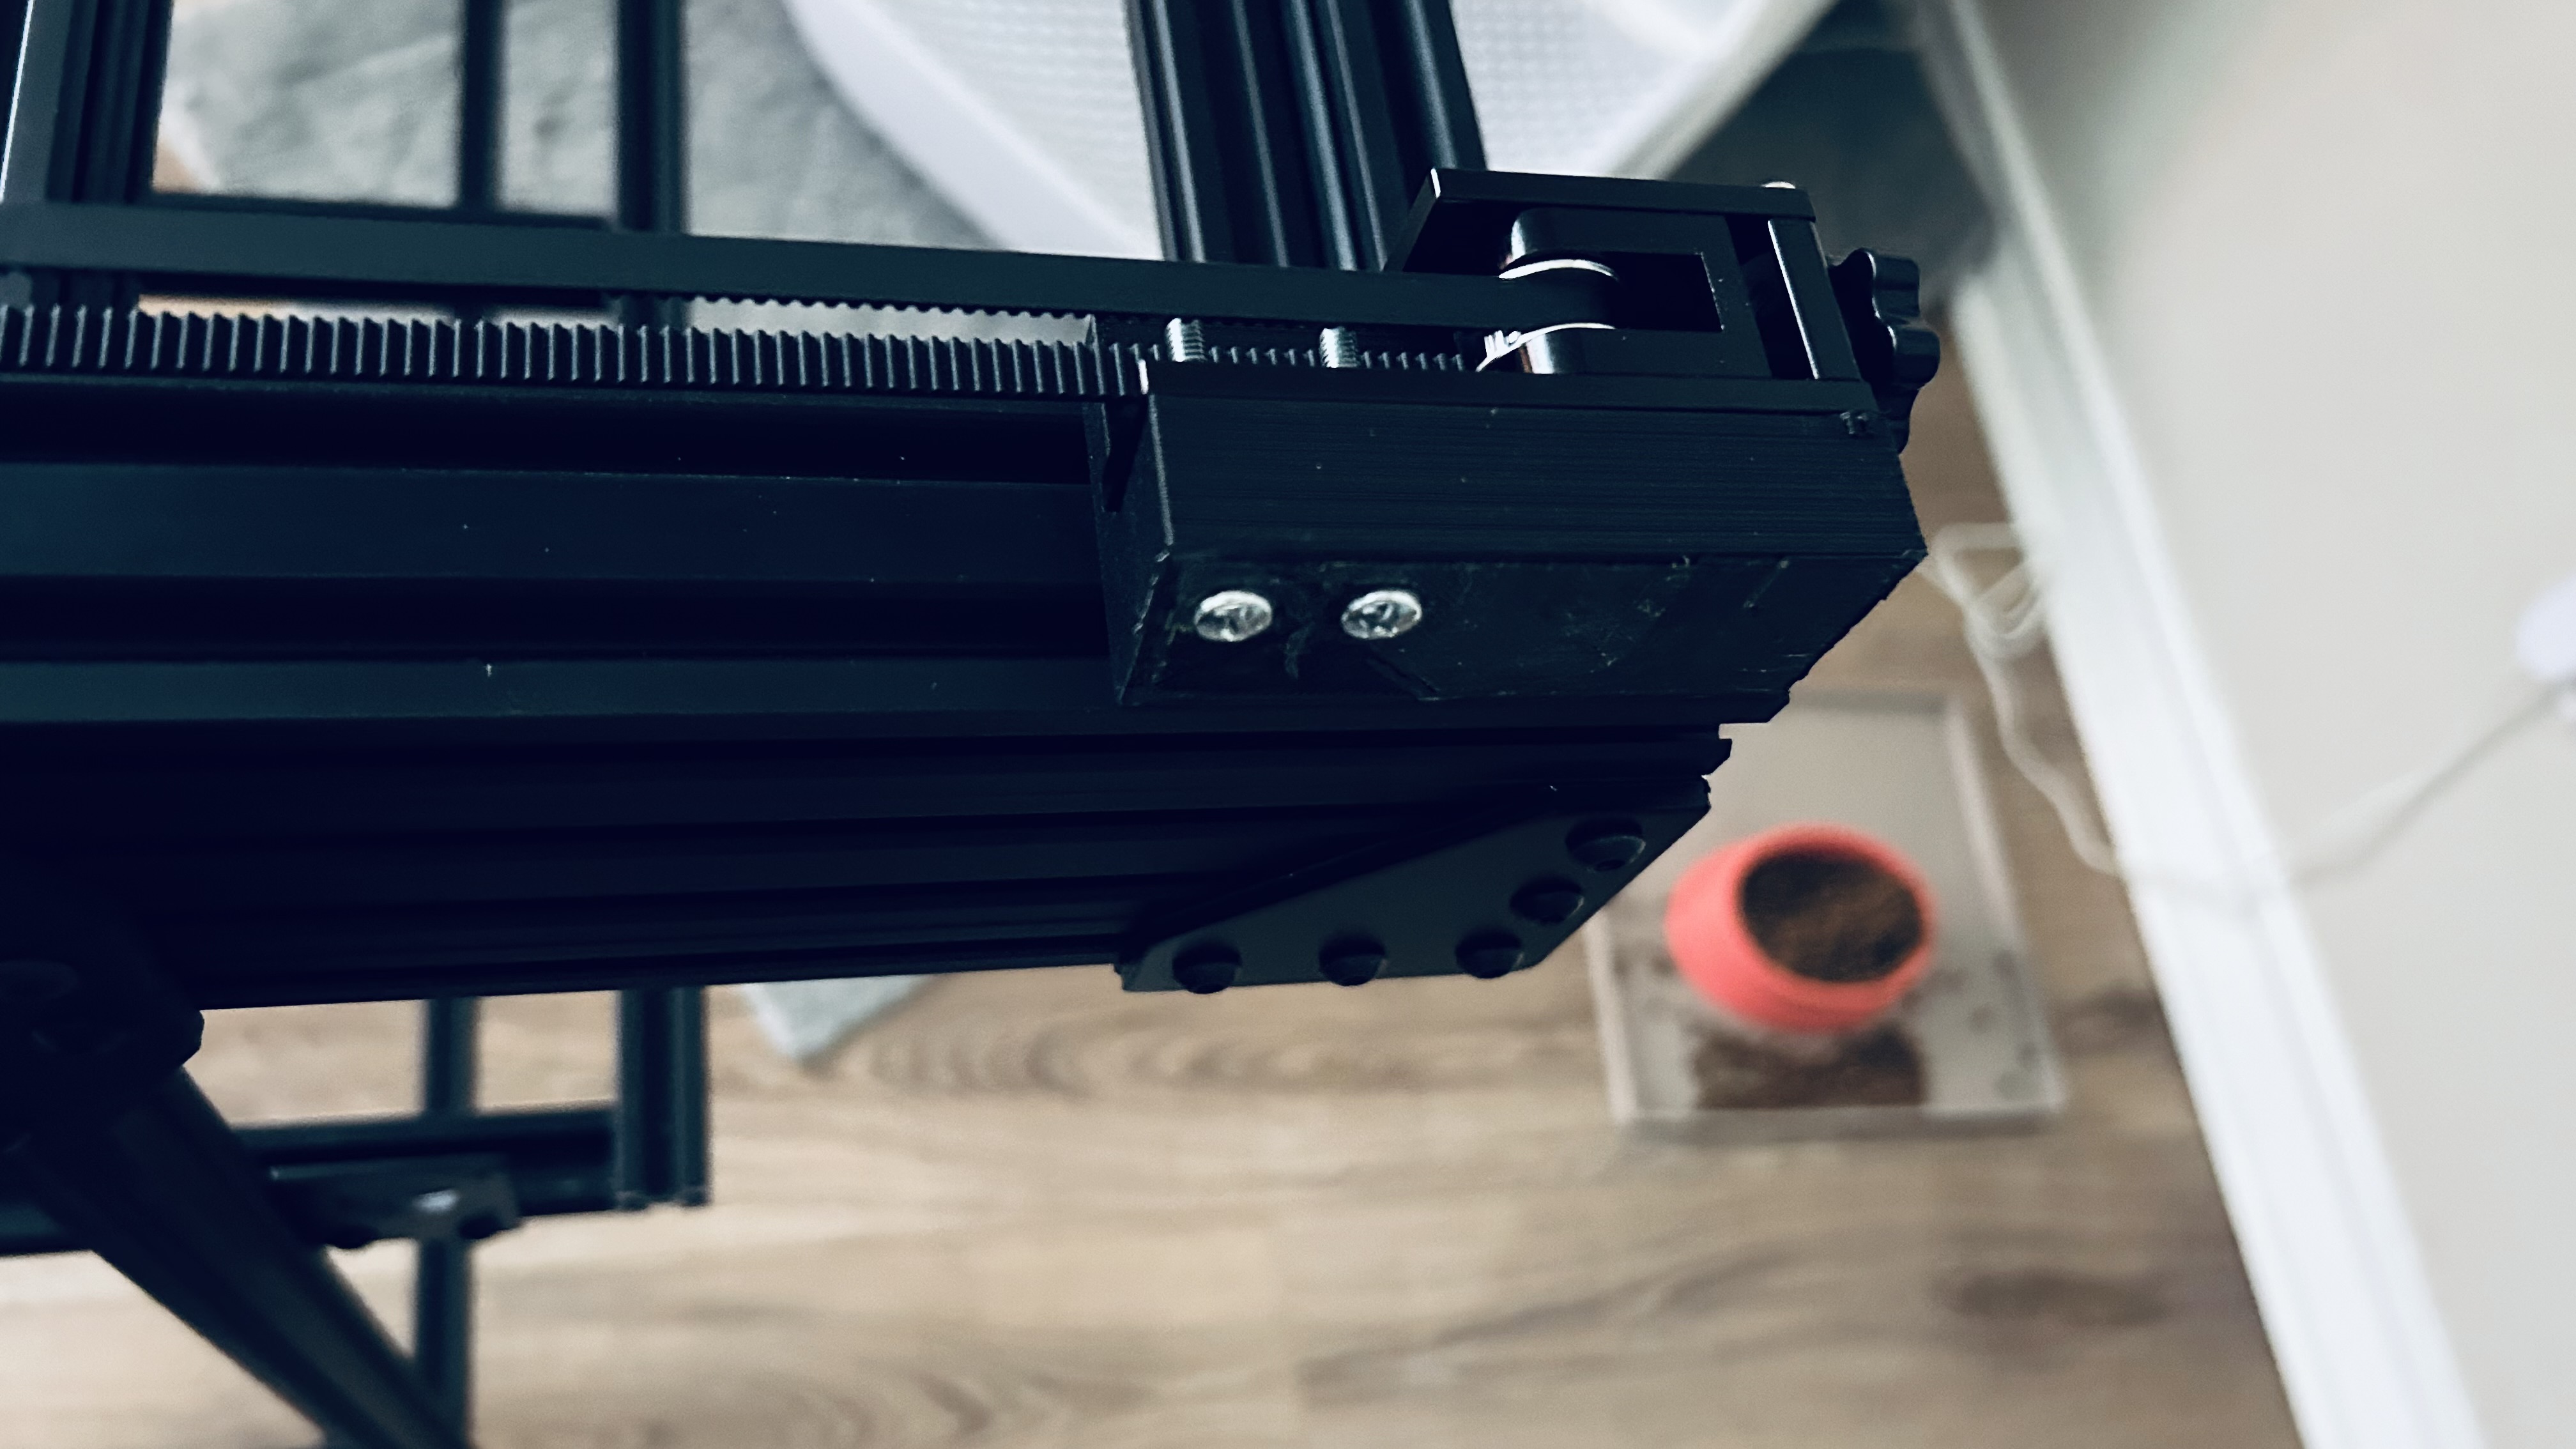
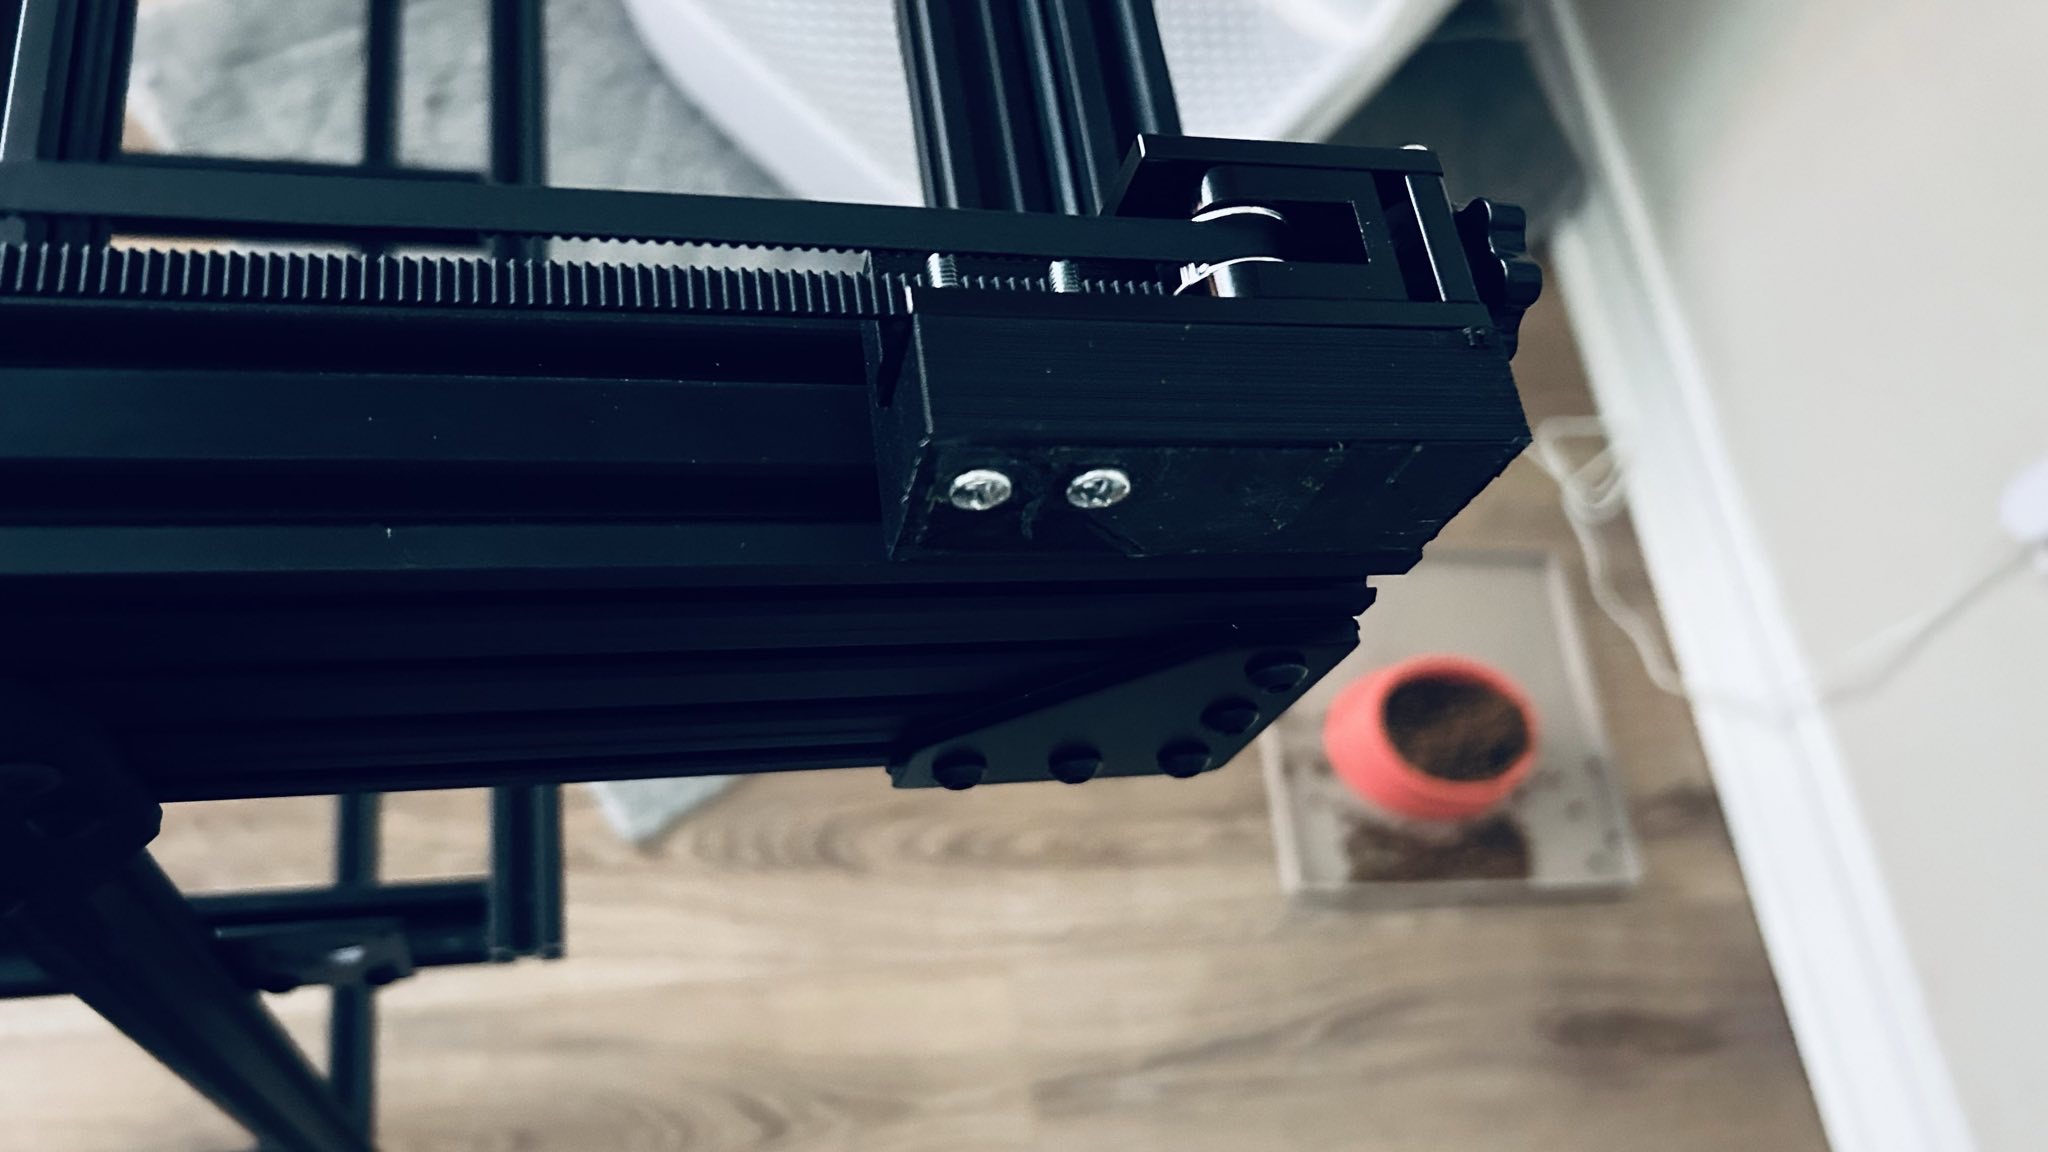
- 2020 and 2040 extruded aluminum (with various brackets and fasteners)
- HGH20 linear rails and carriages
- 800x800 aluminum honeycomb bed for the cut surface
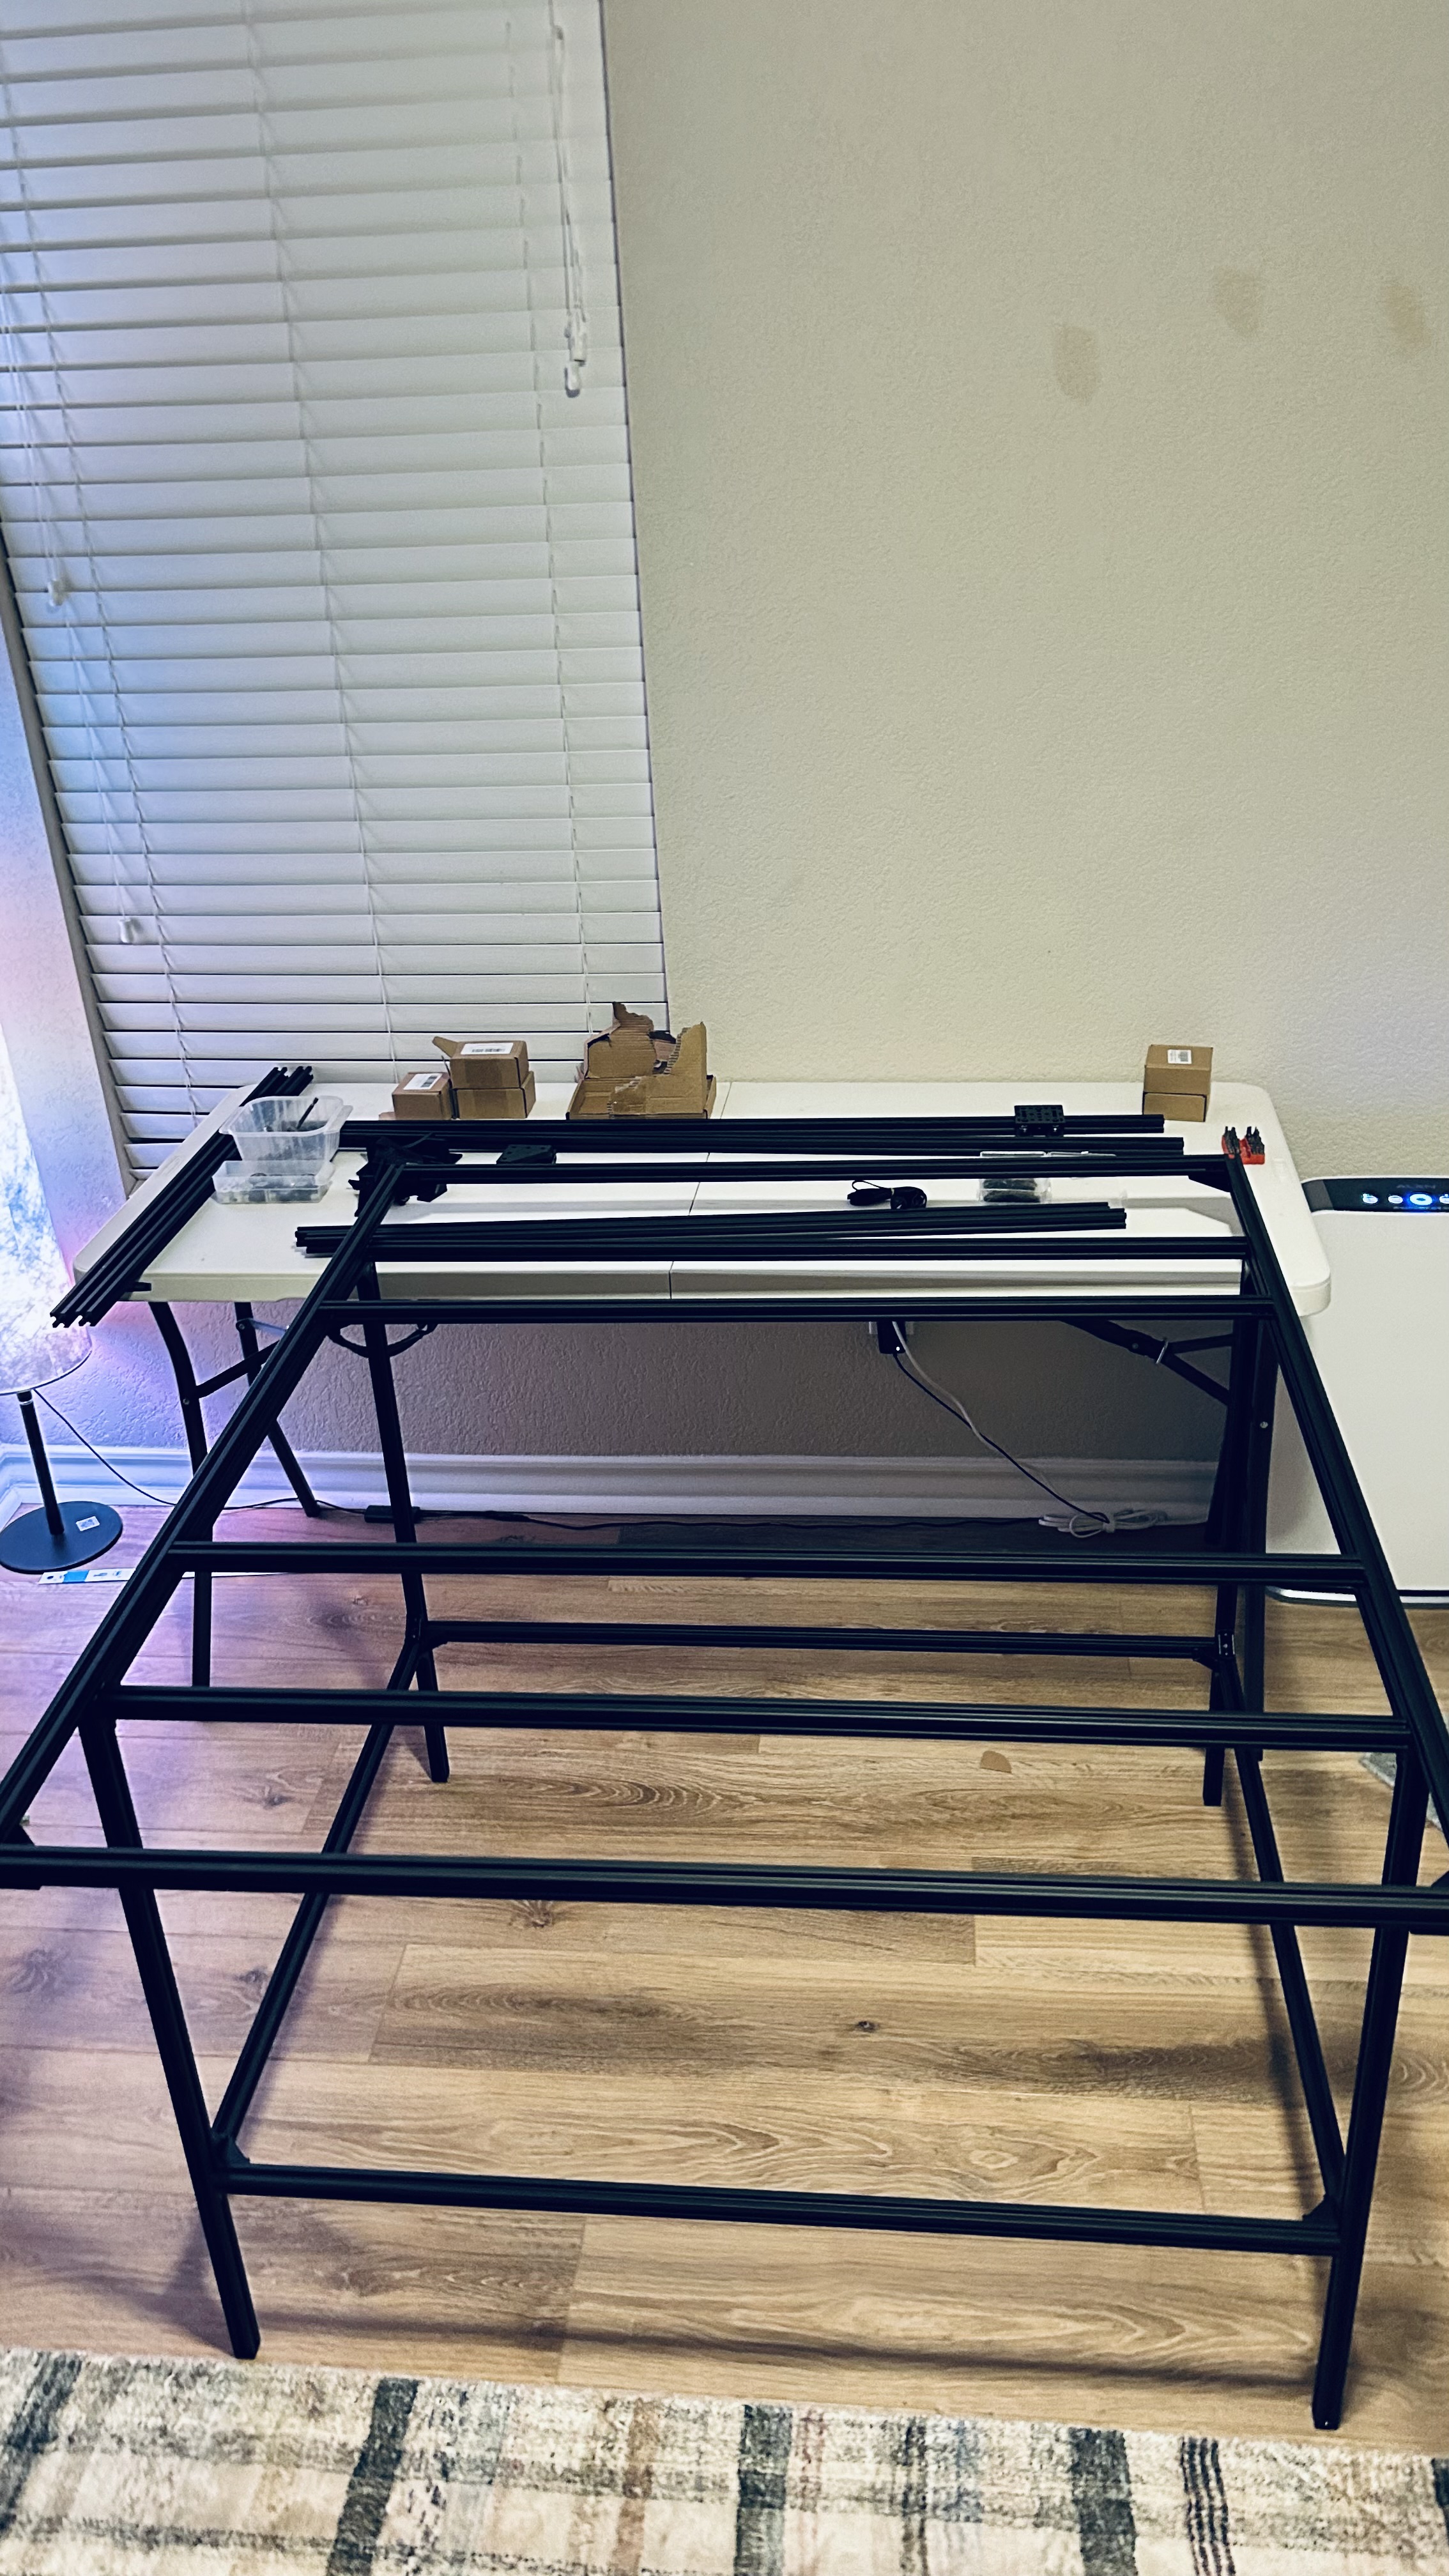
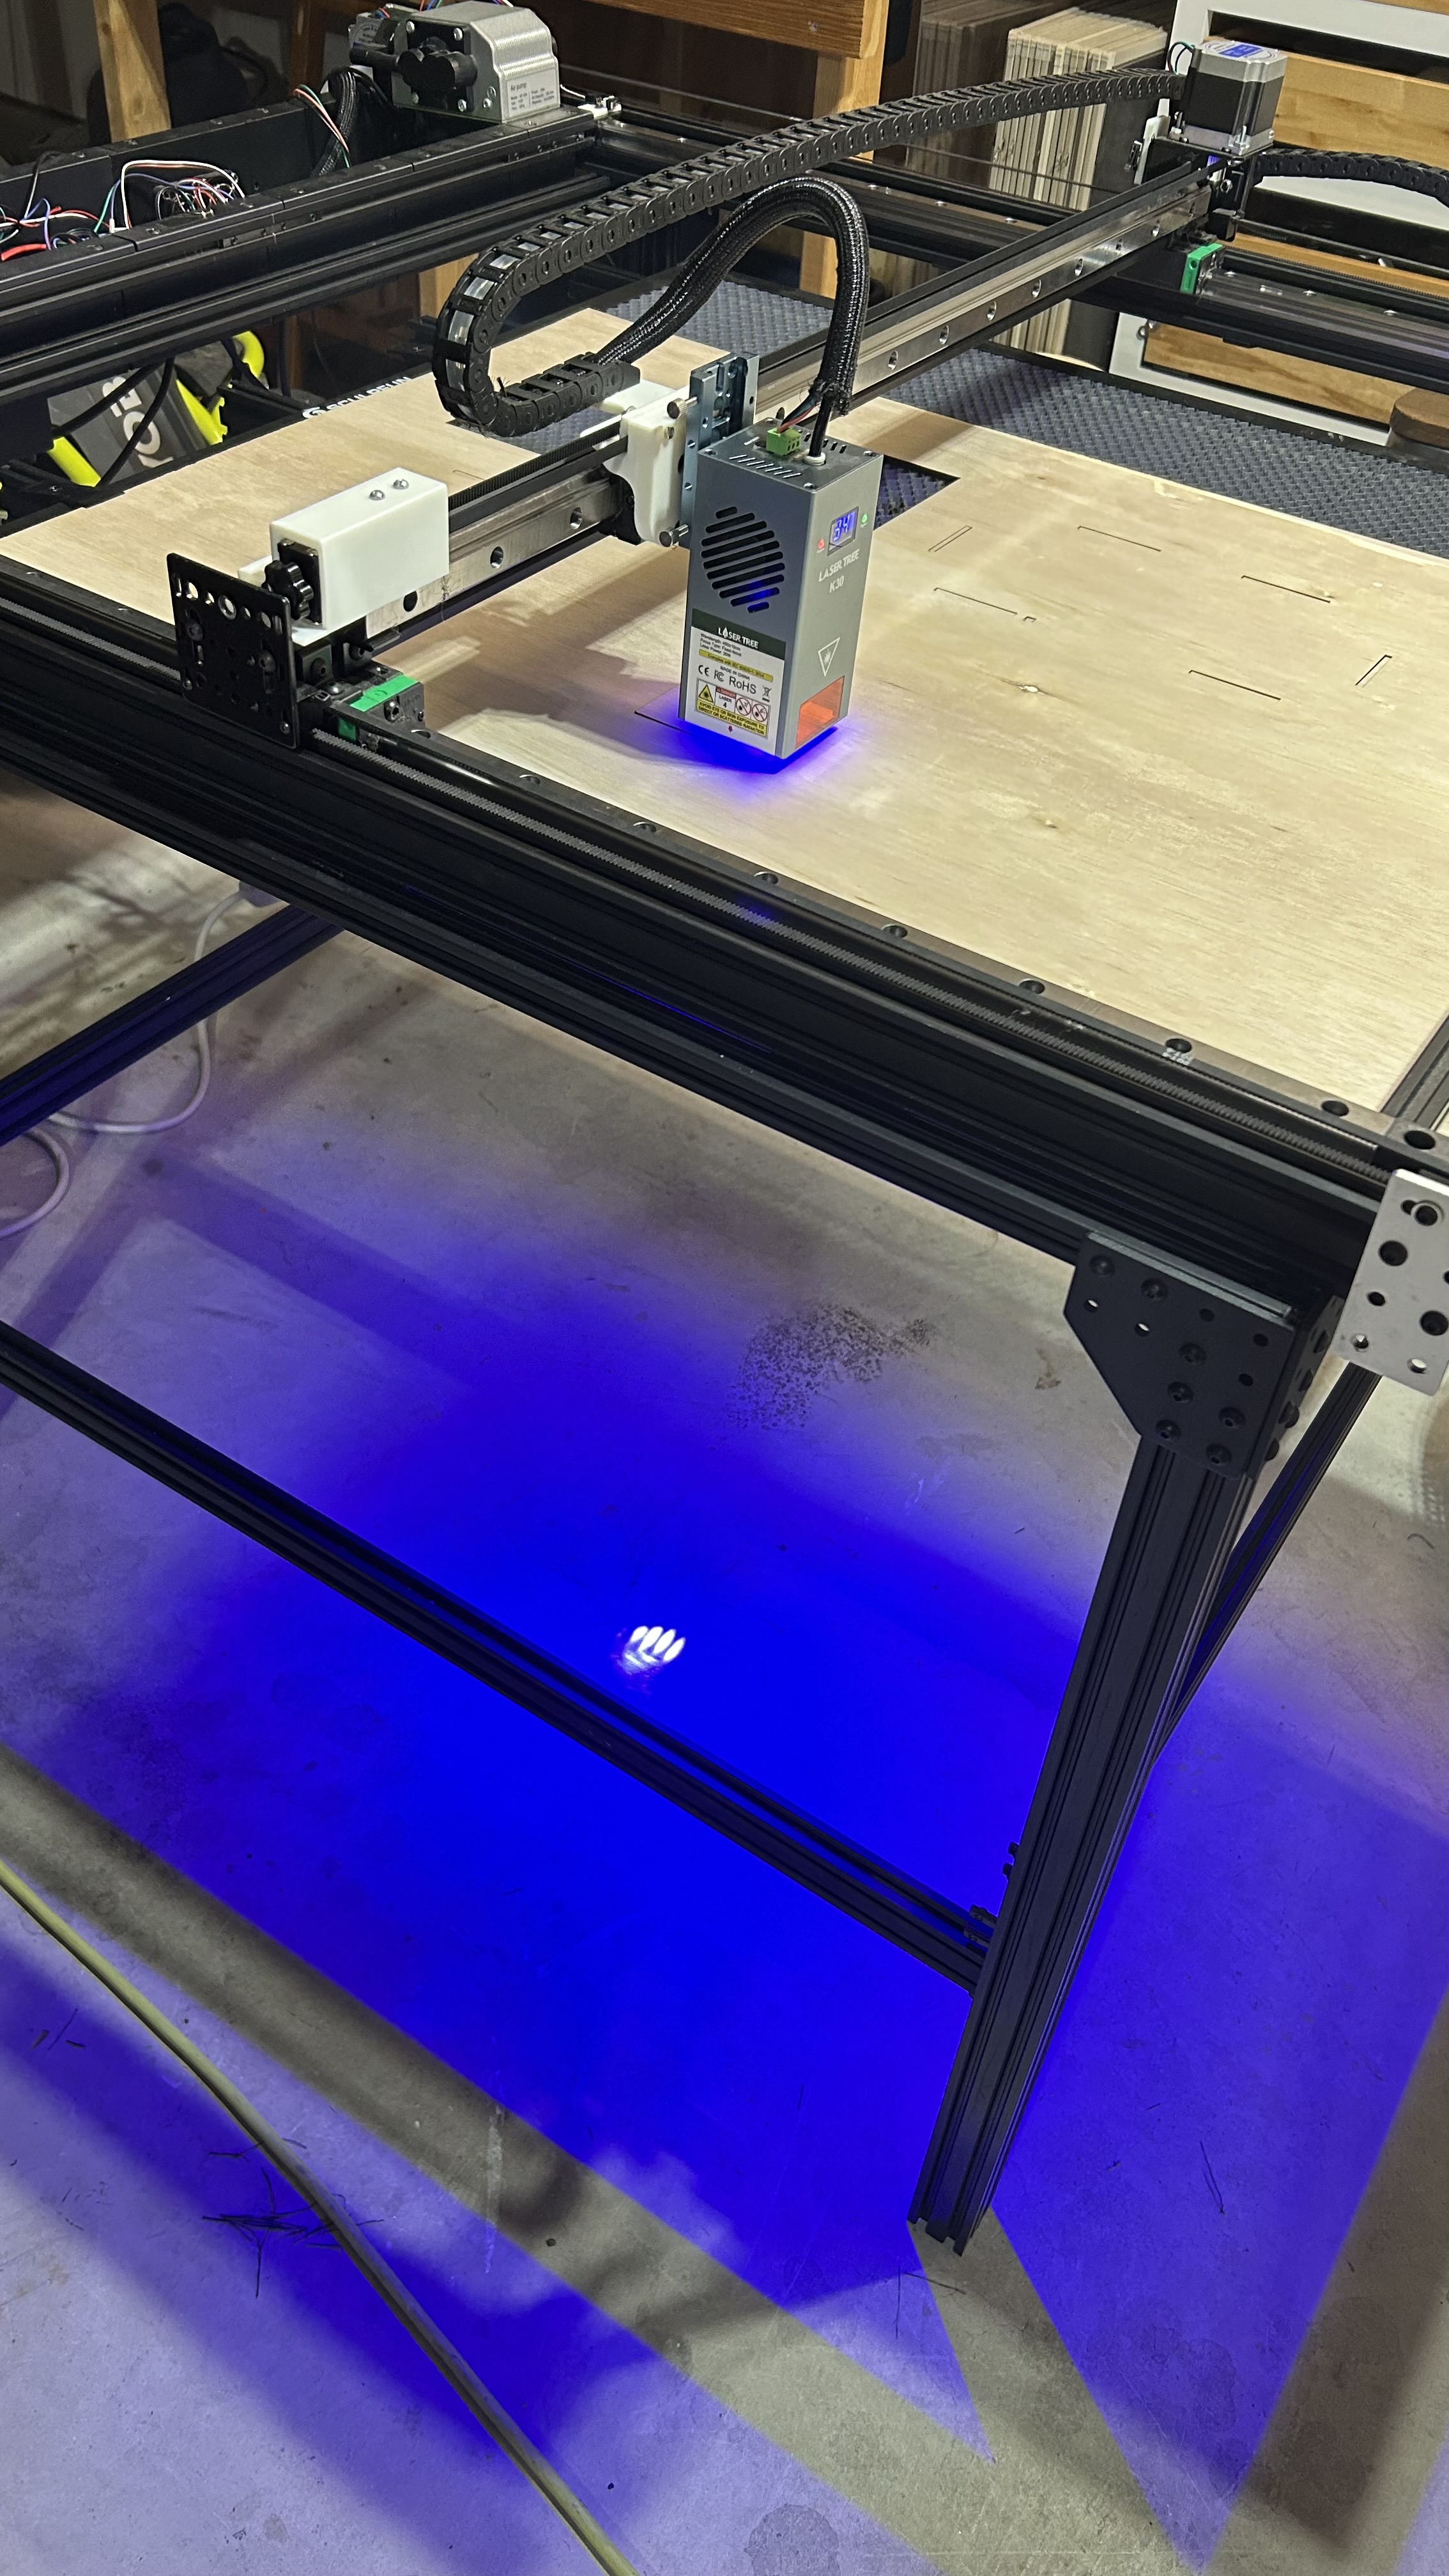
The laser assembly was constructed using extruded aluminum and minimal 3D printed parts. The ultimate goal was to keep the design as rigid as possible while keeping the frame as square as possible. The majority of the 3D printed parts were used for brackets, housings, and panels for electrical components or switch/plate mounts.
Below is a gallery of the first design. The issue with this design was that the gantry was too heavy and caused the entire table to shake when moving.
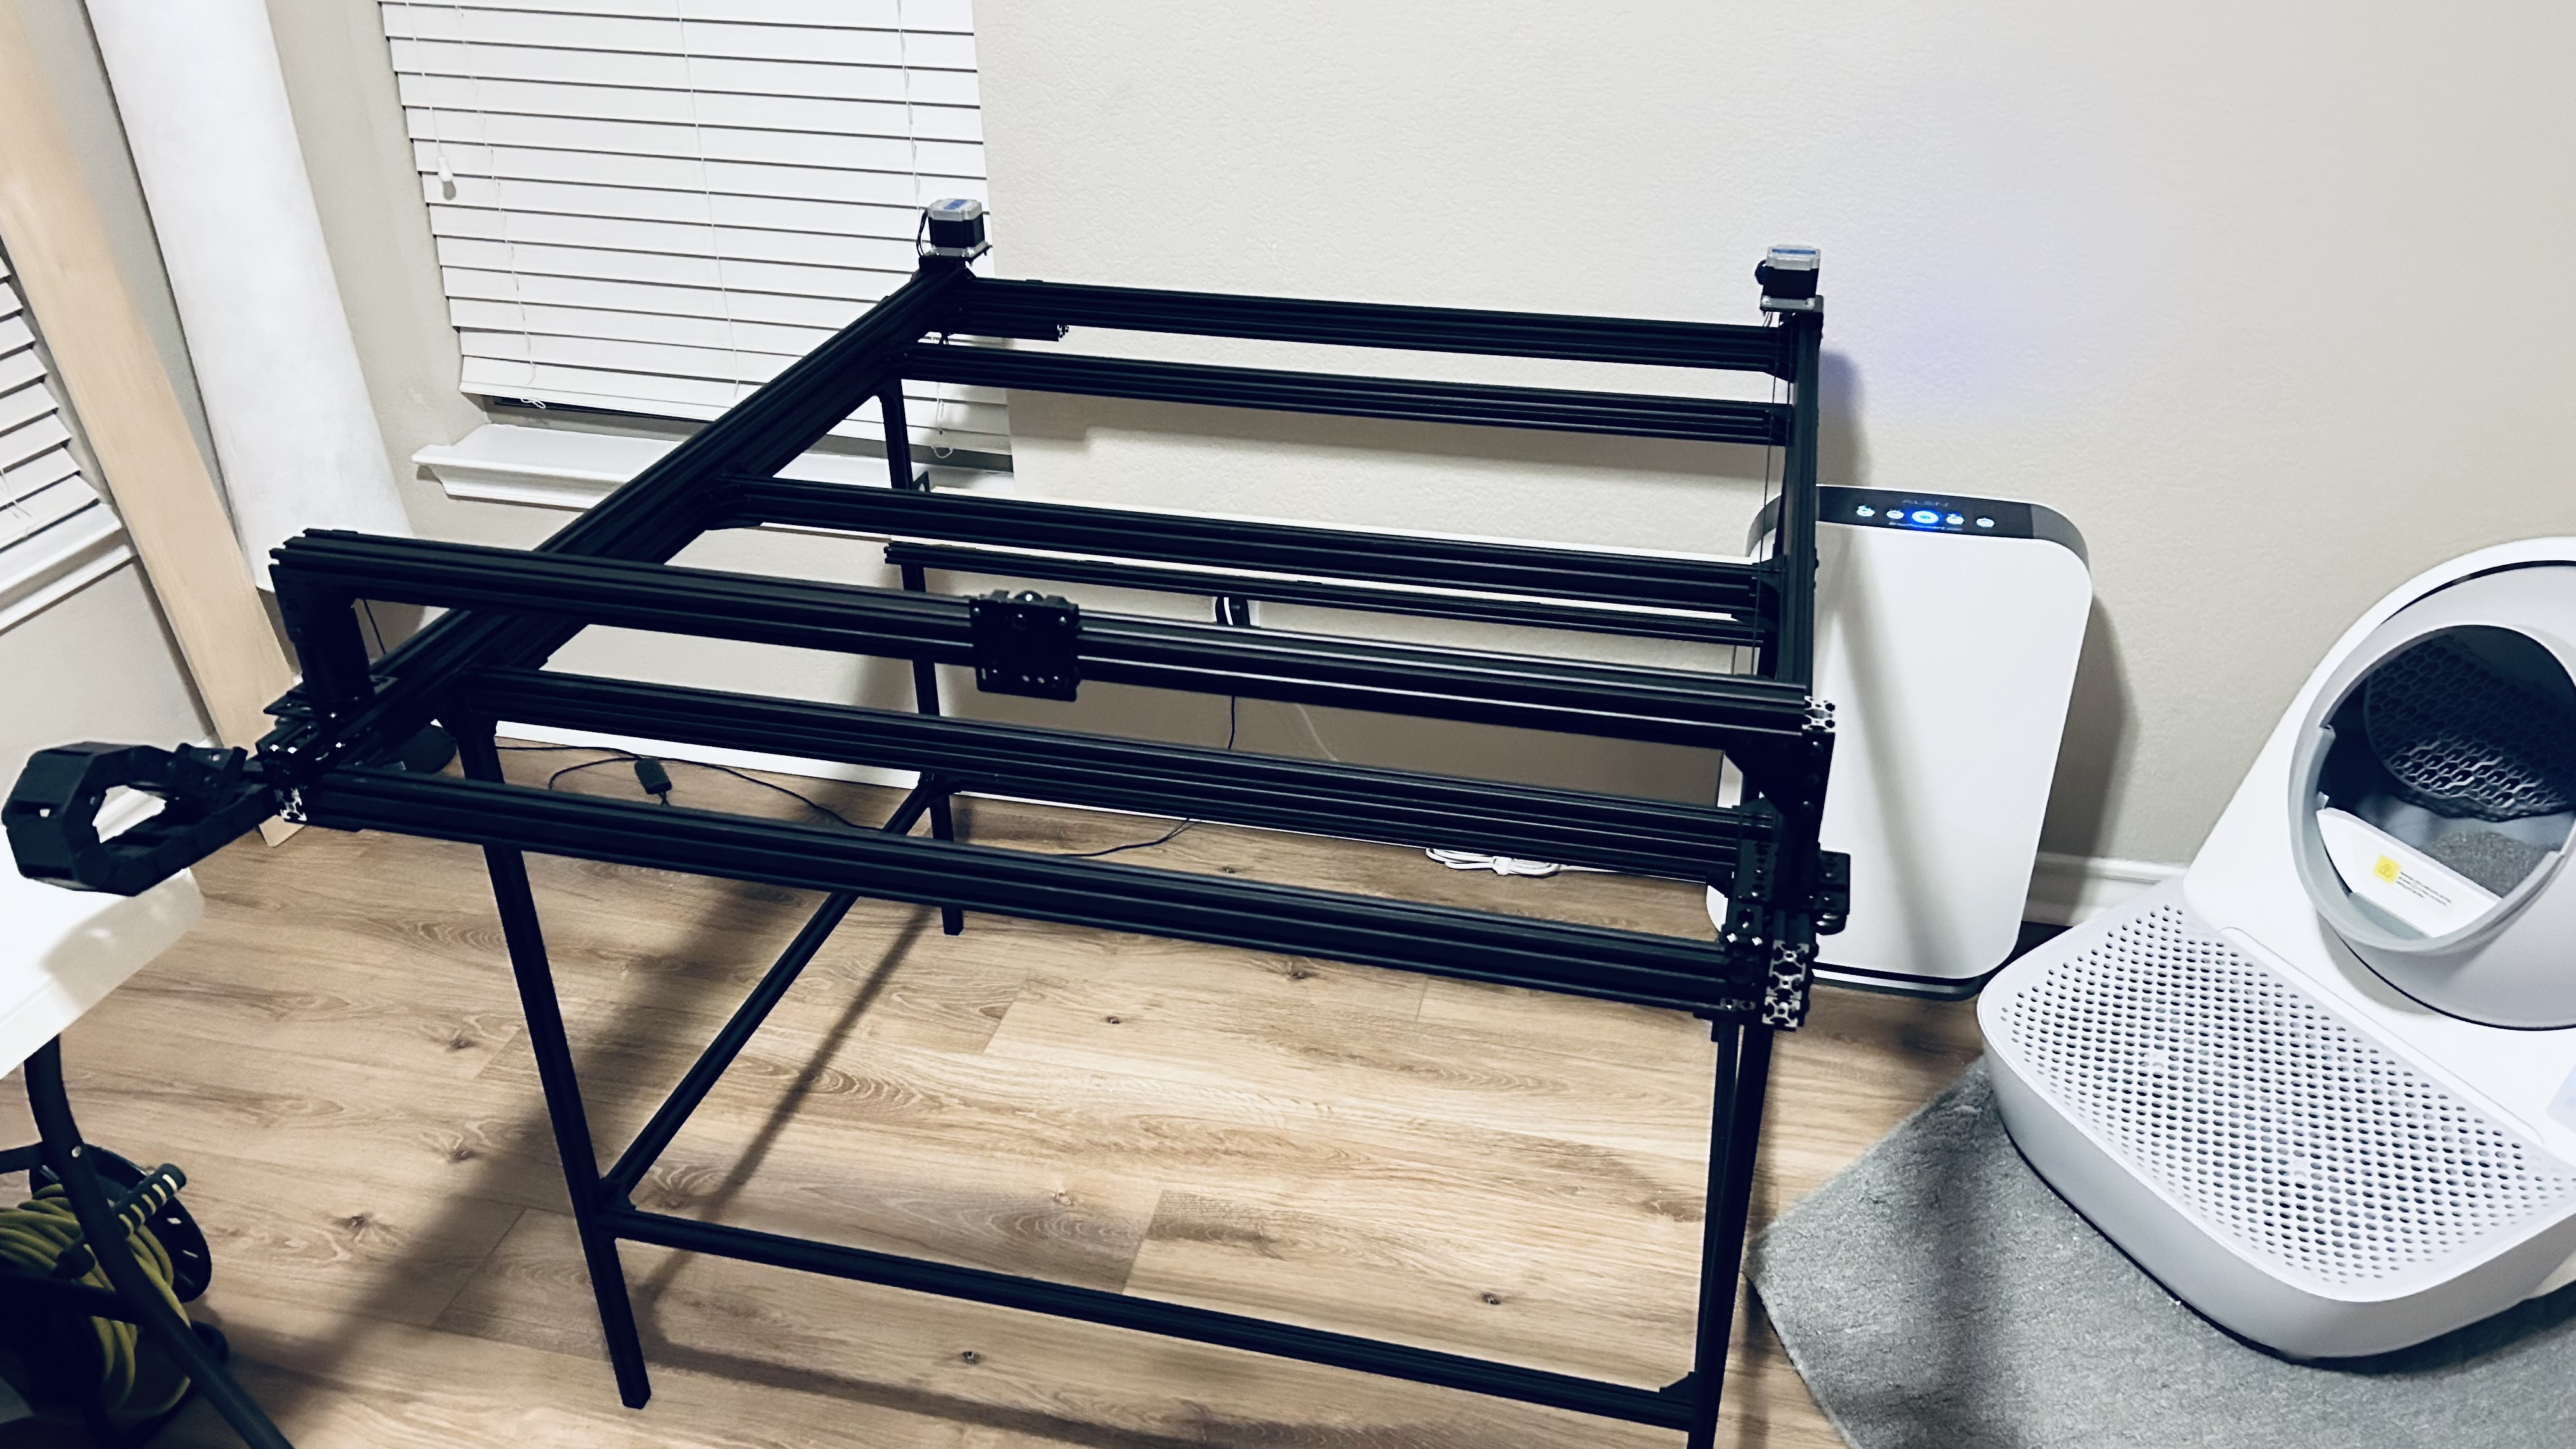
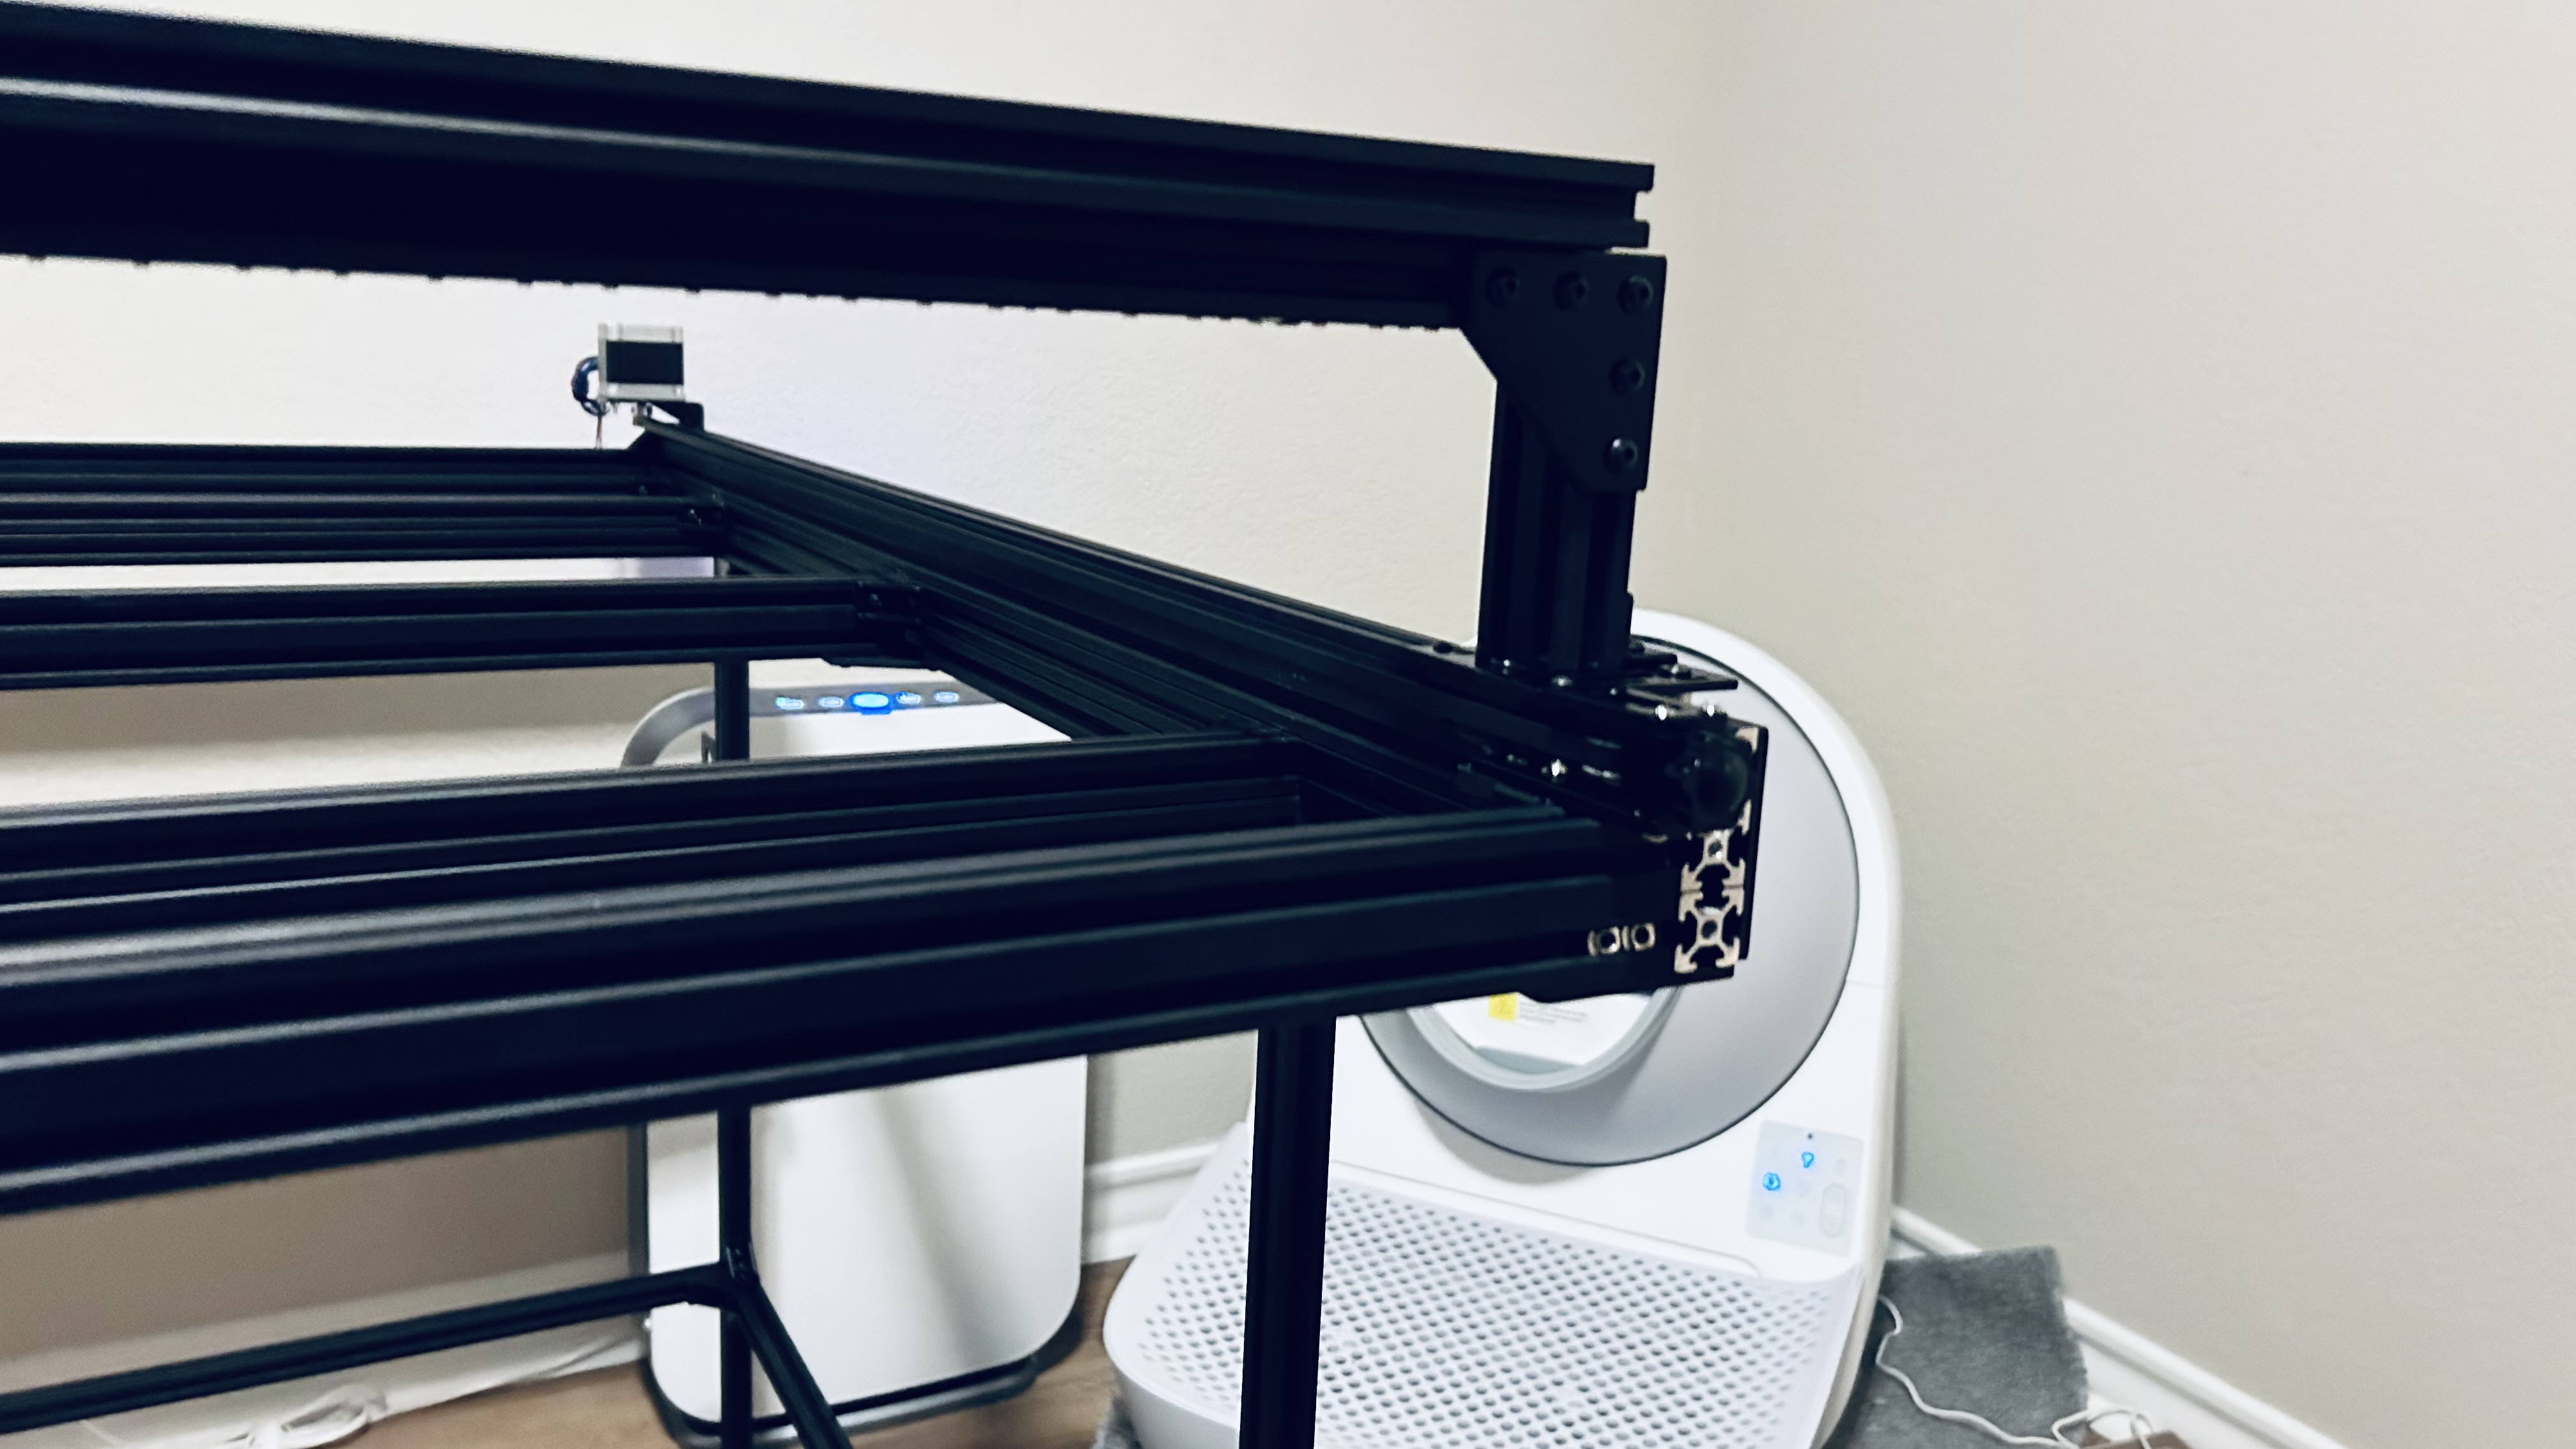
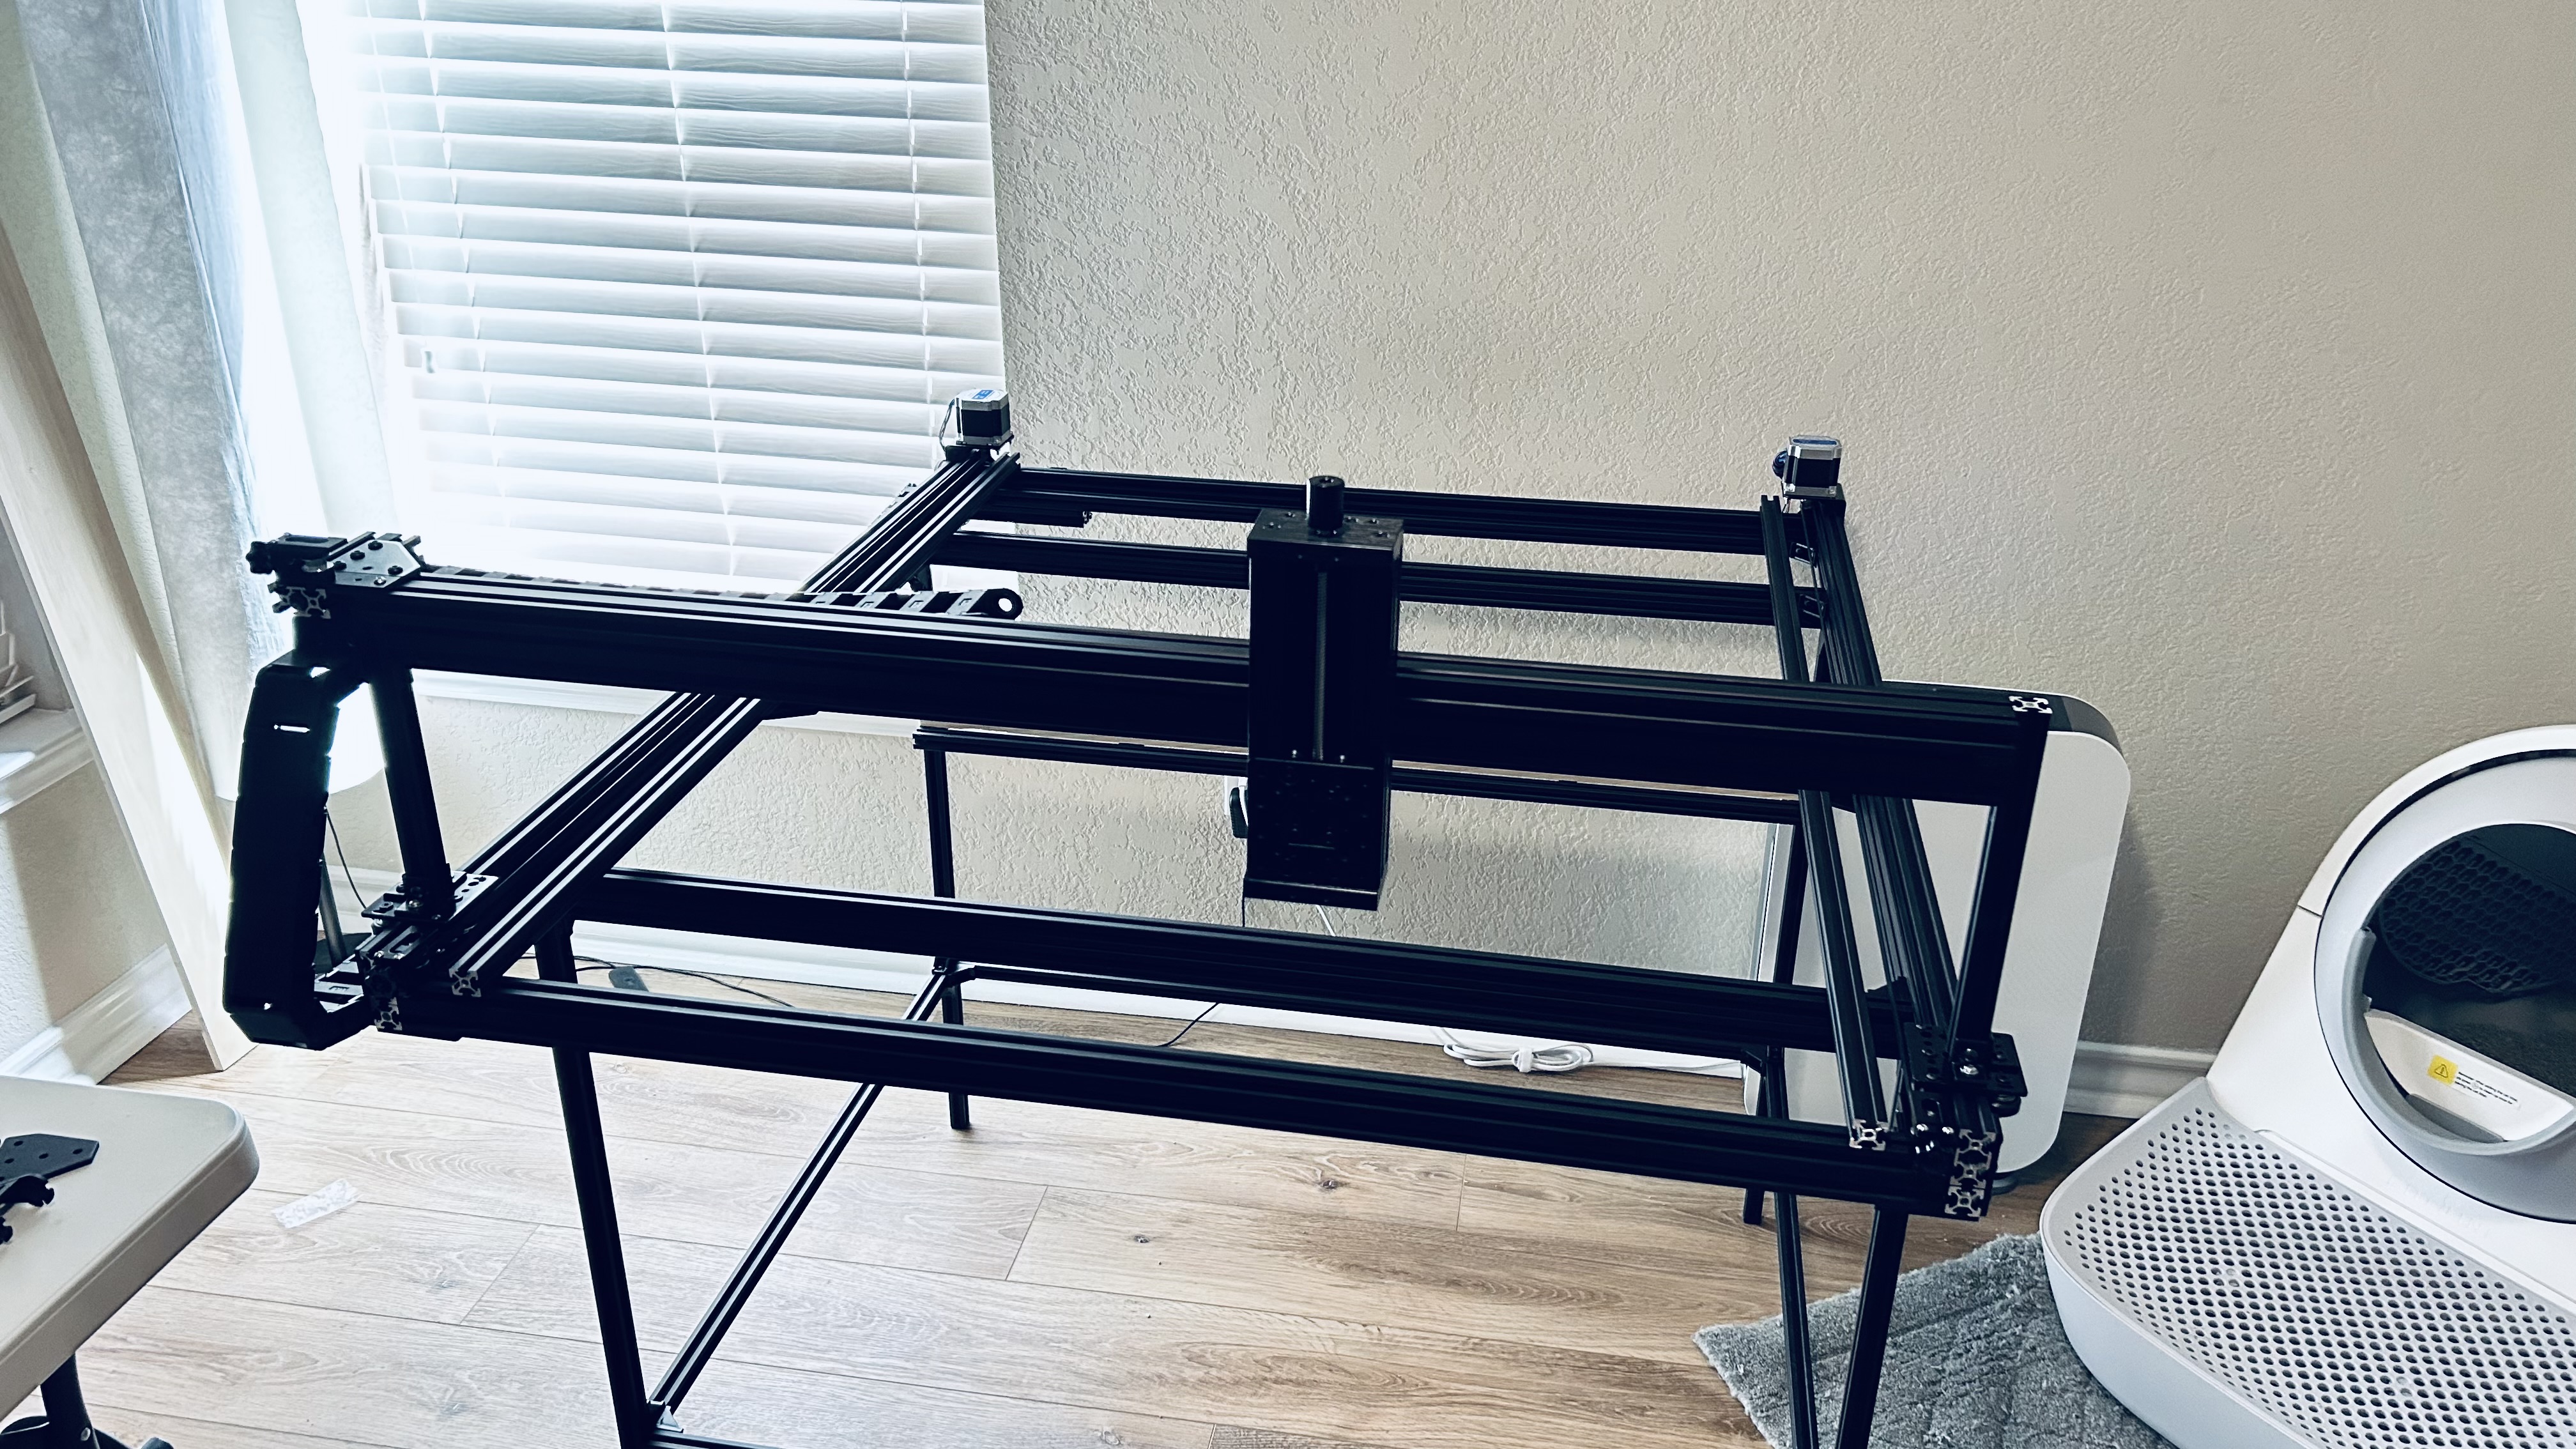


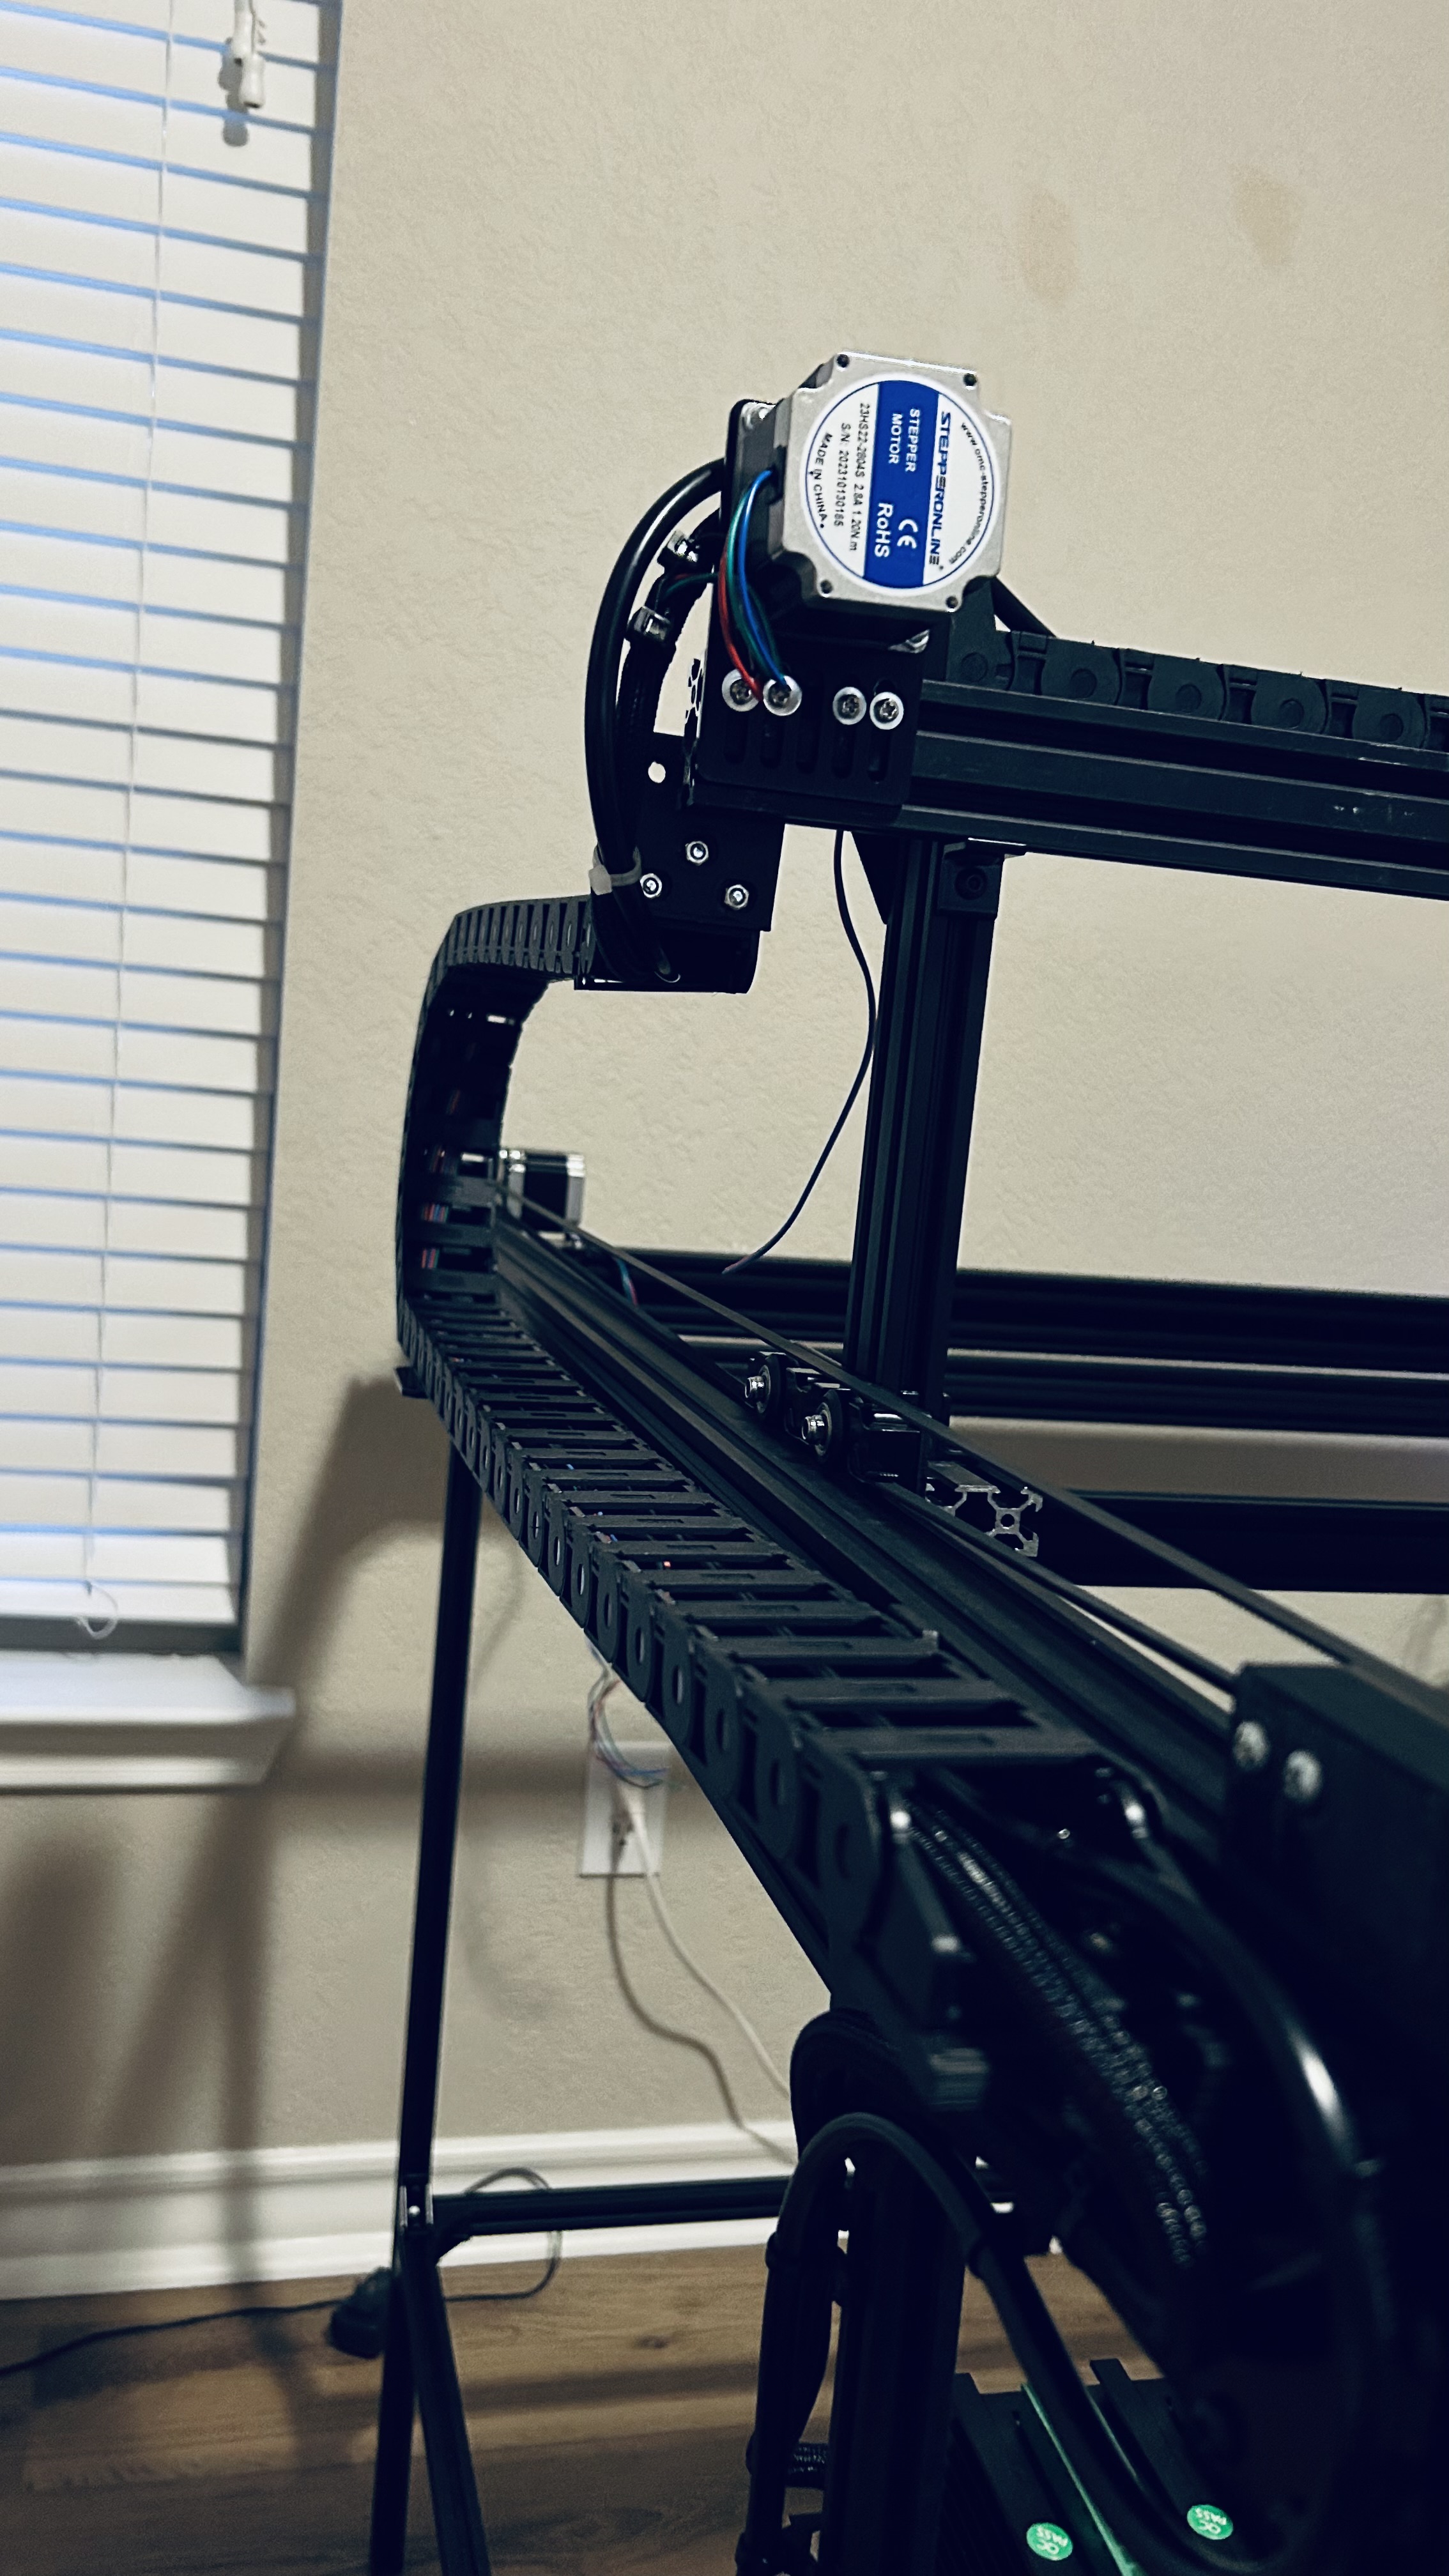
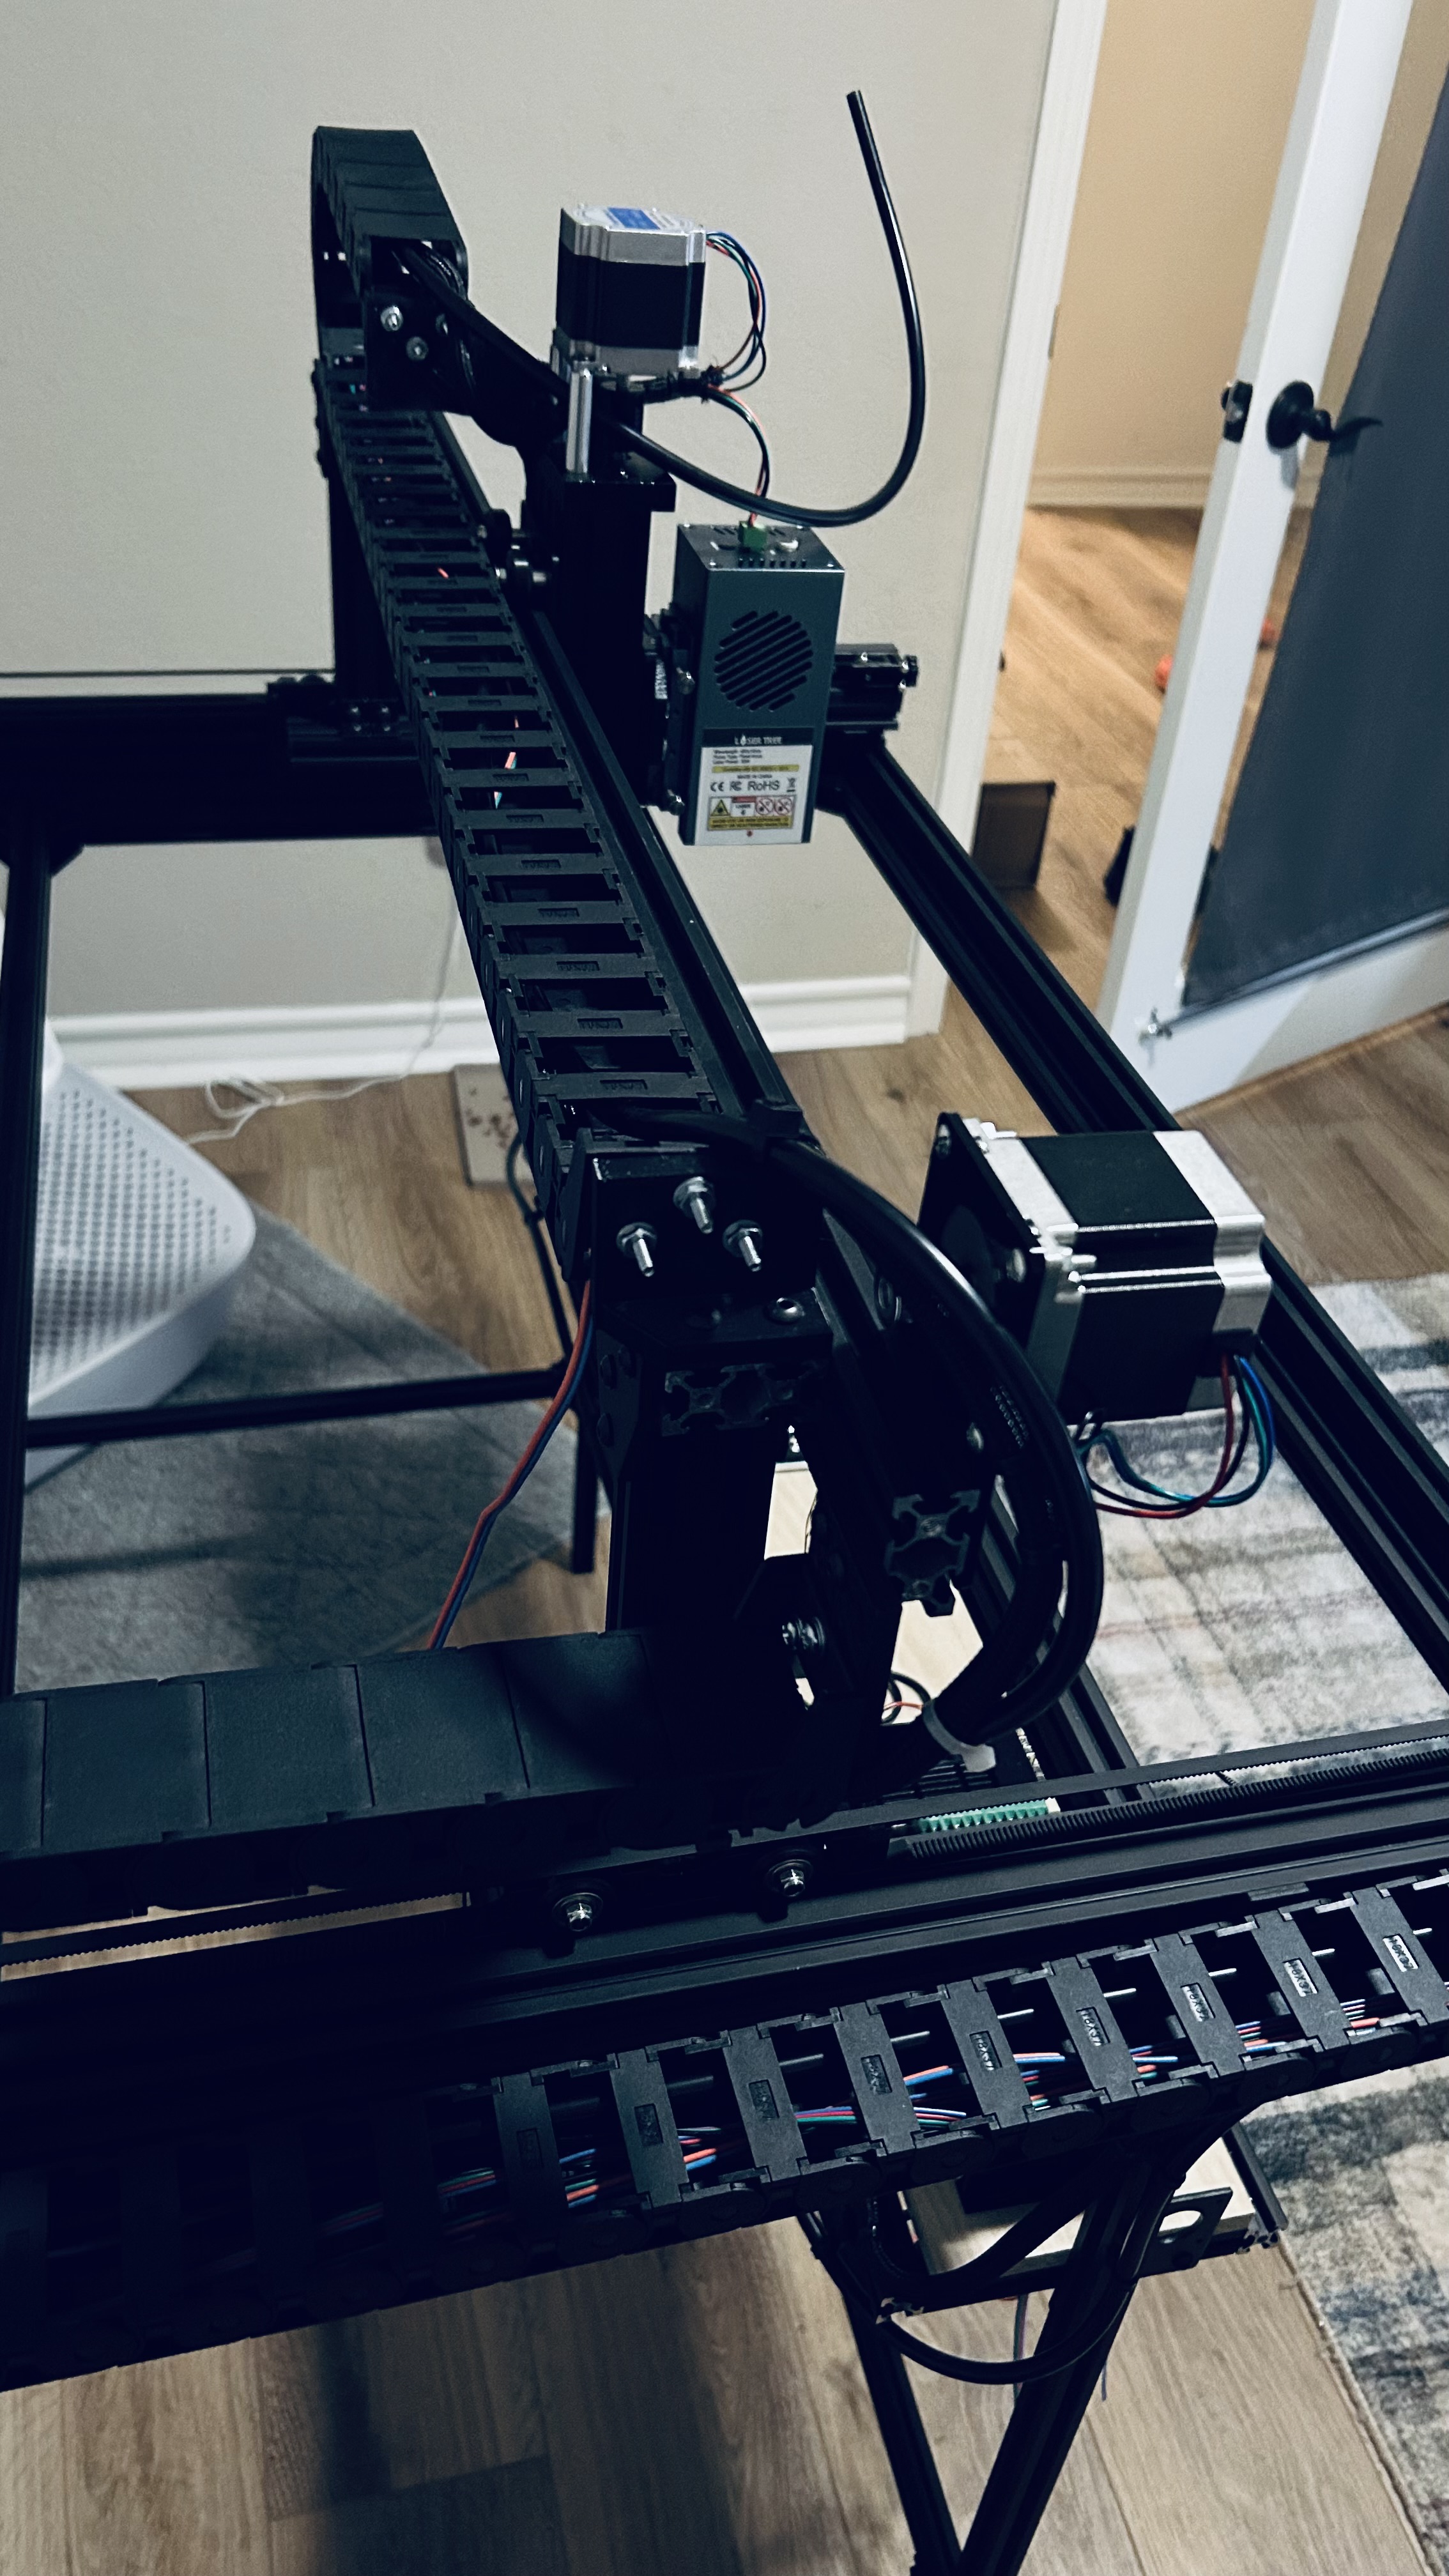
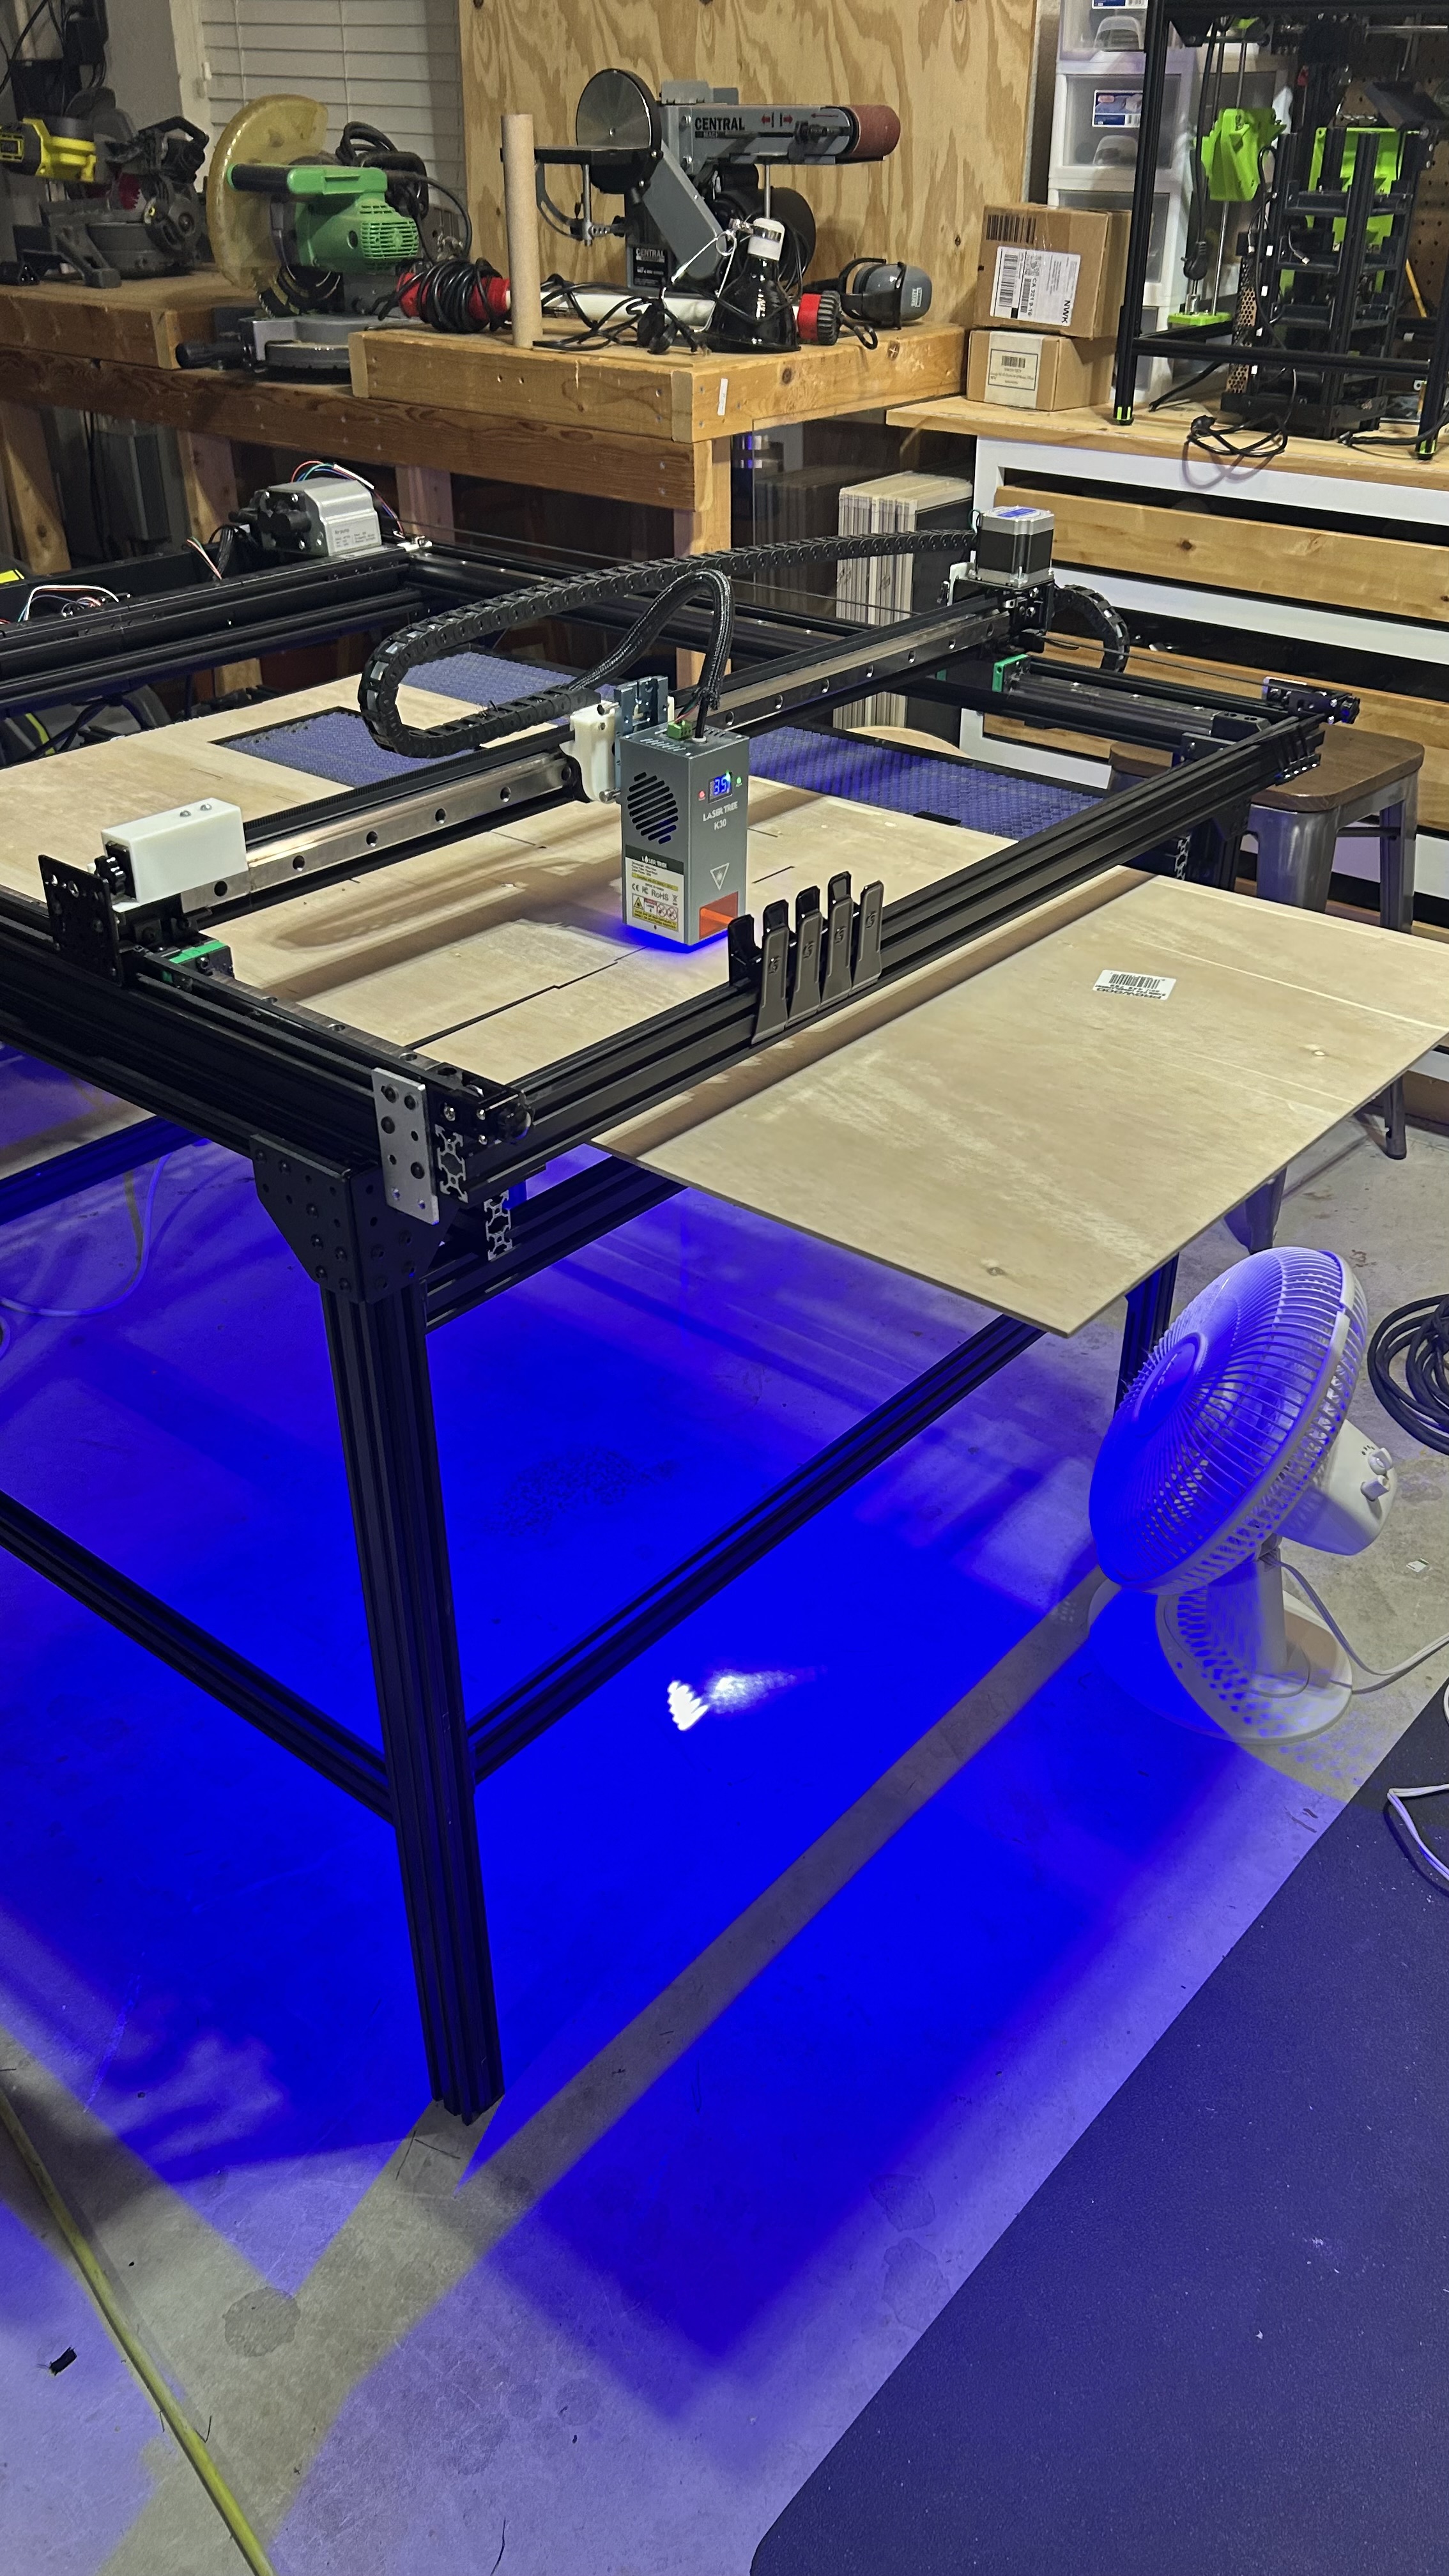
The second design minimized the gantry size and focused on keeping the an extreme minimal approach to all moving parts.
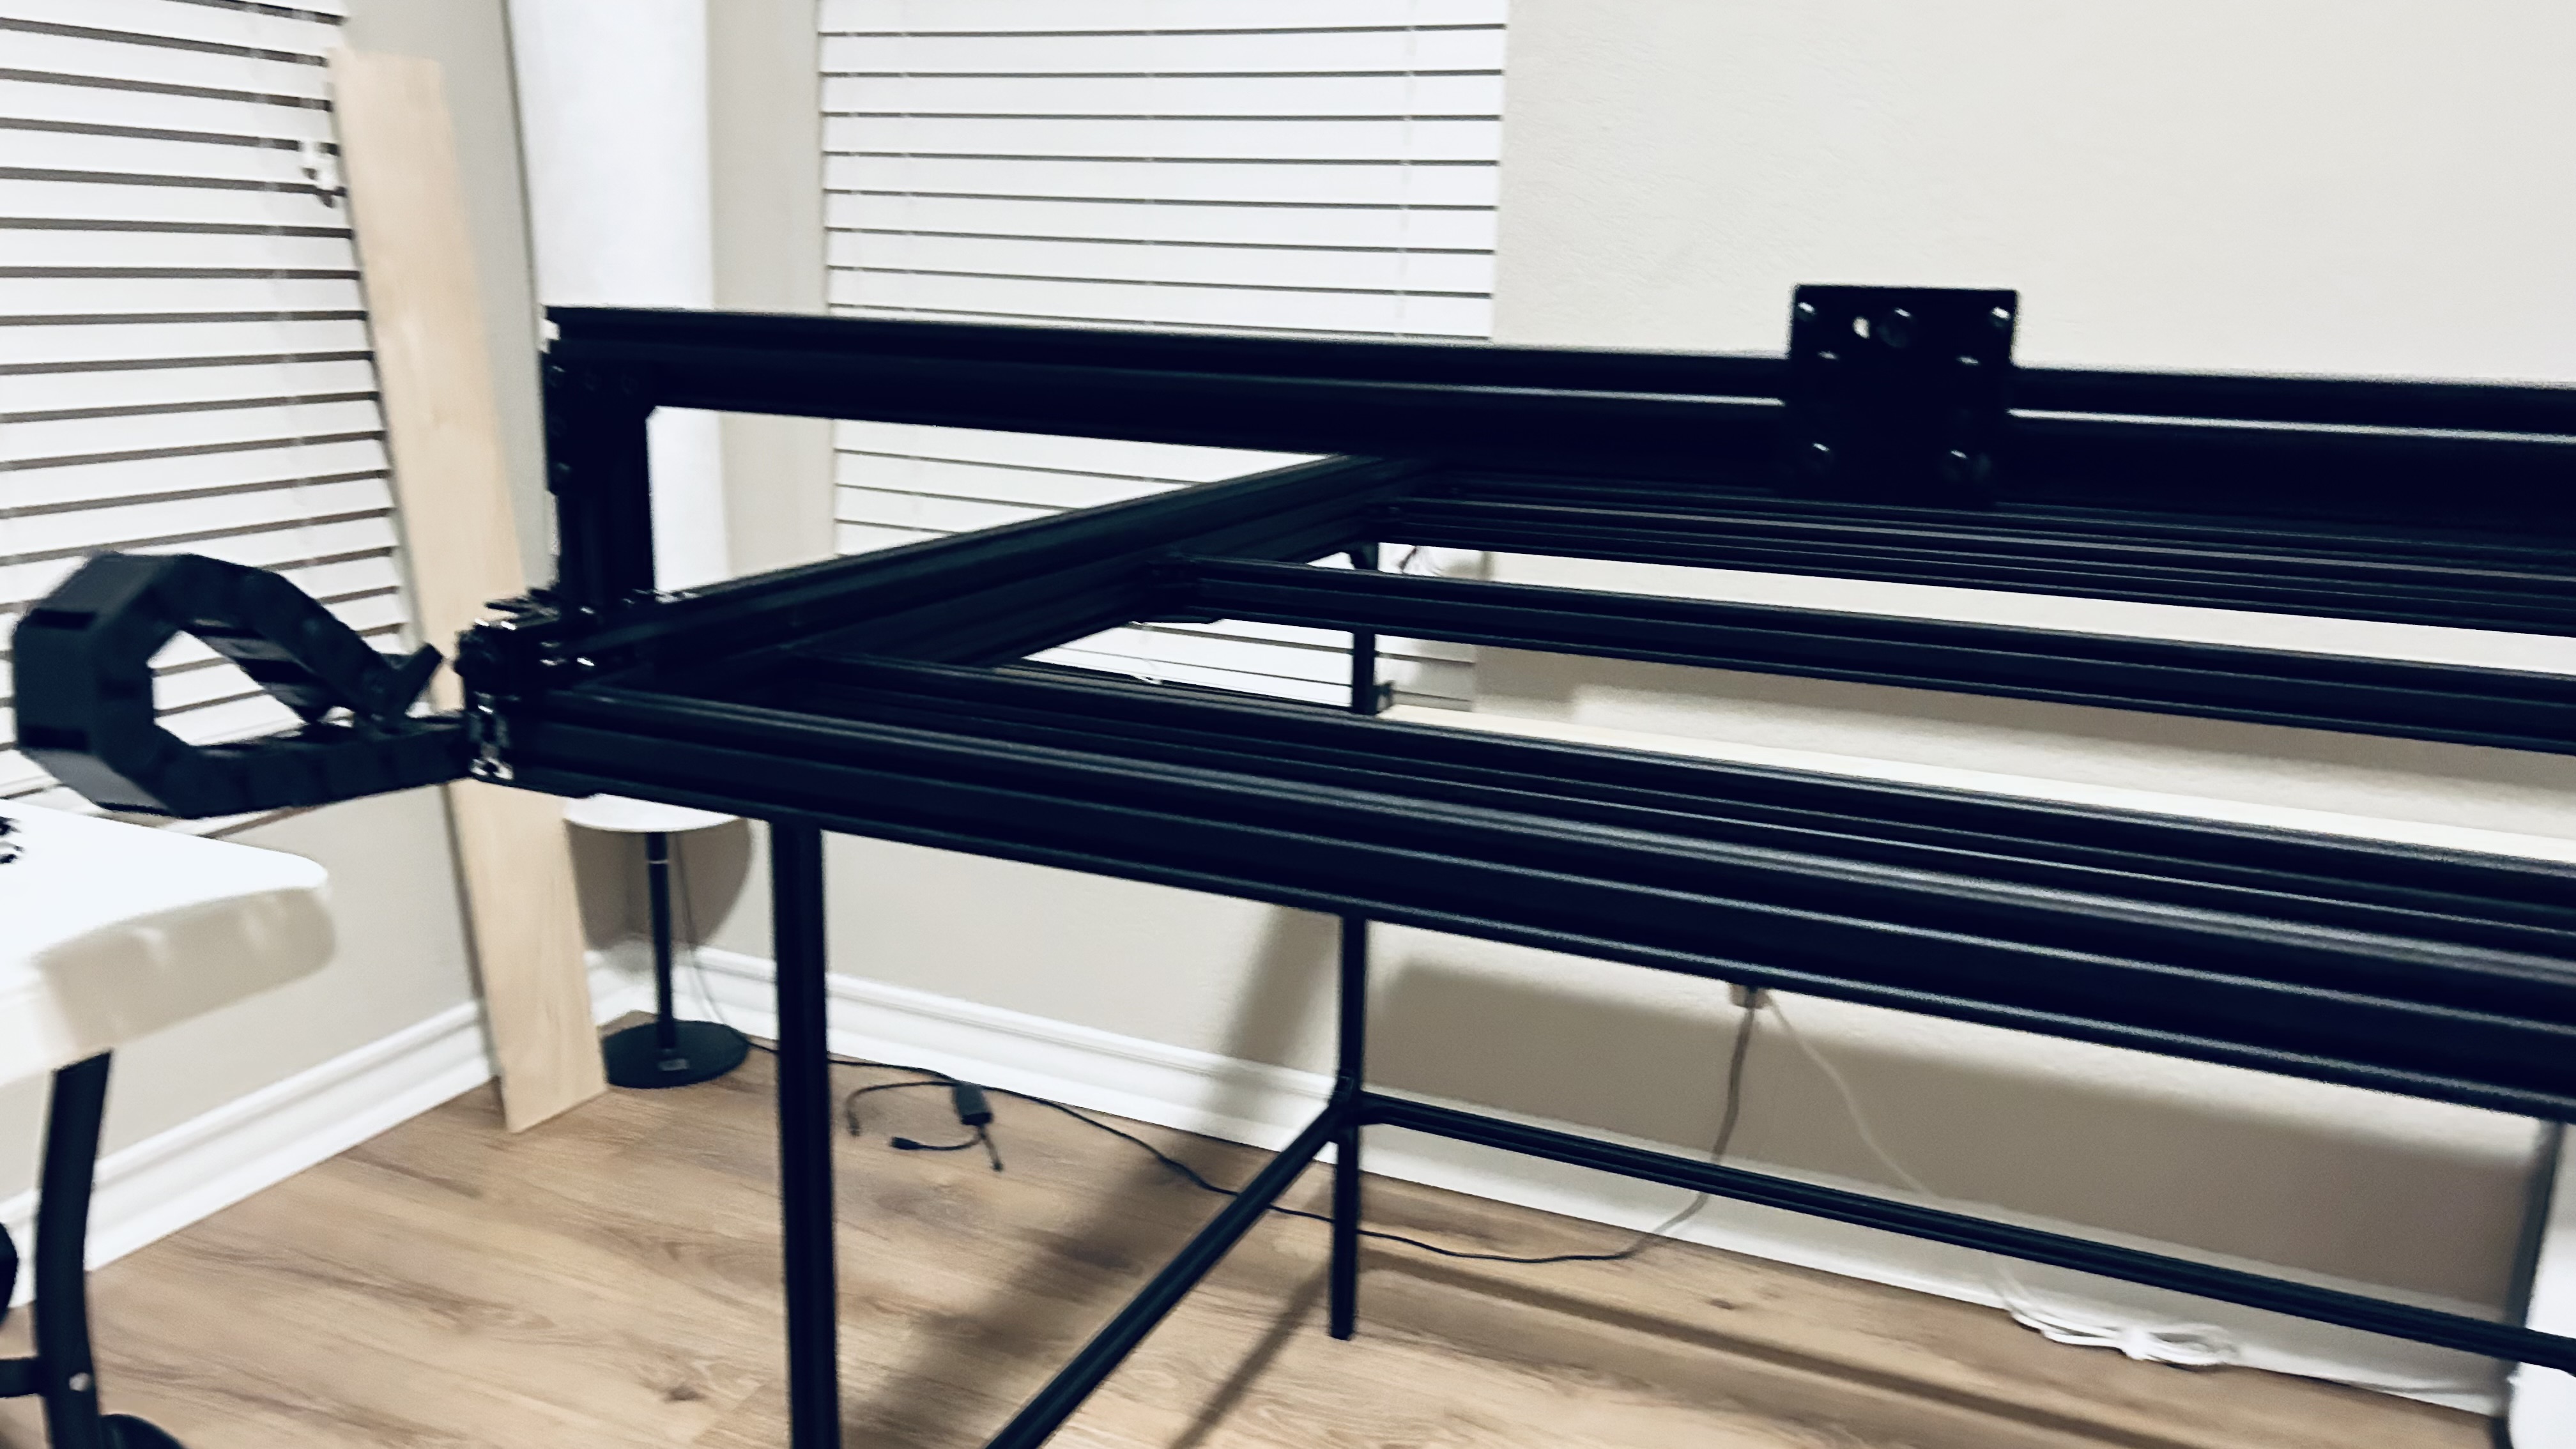
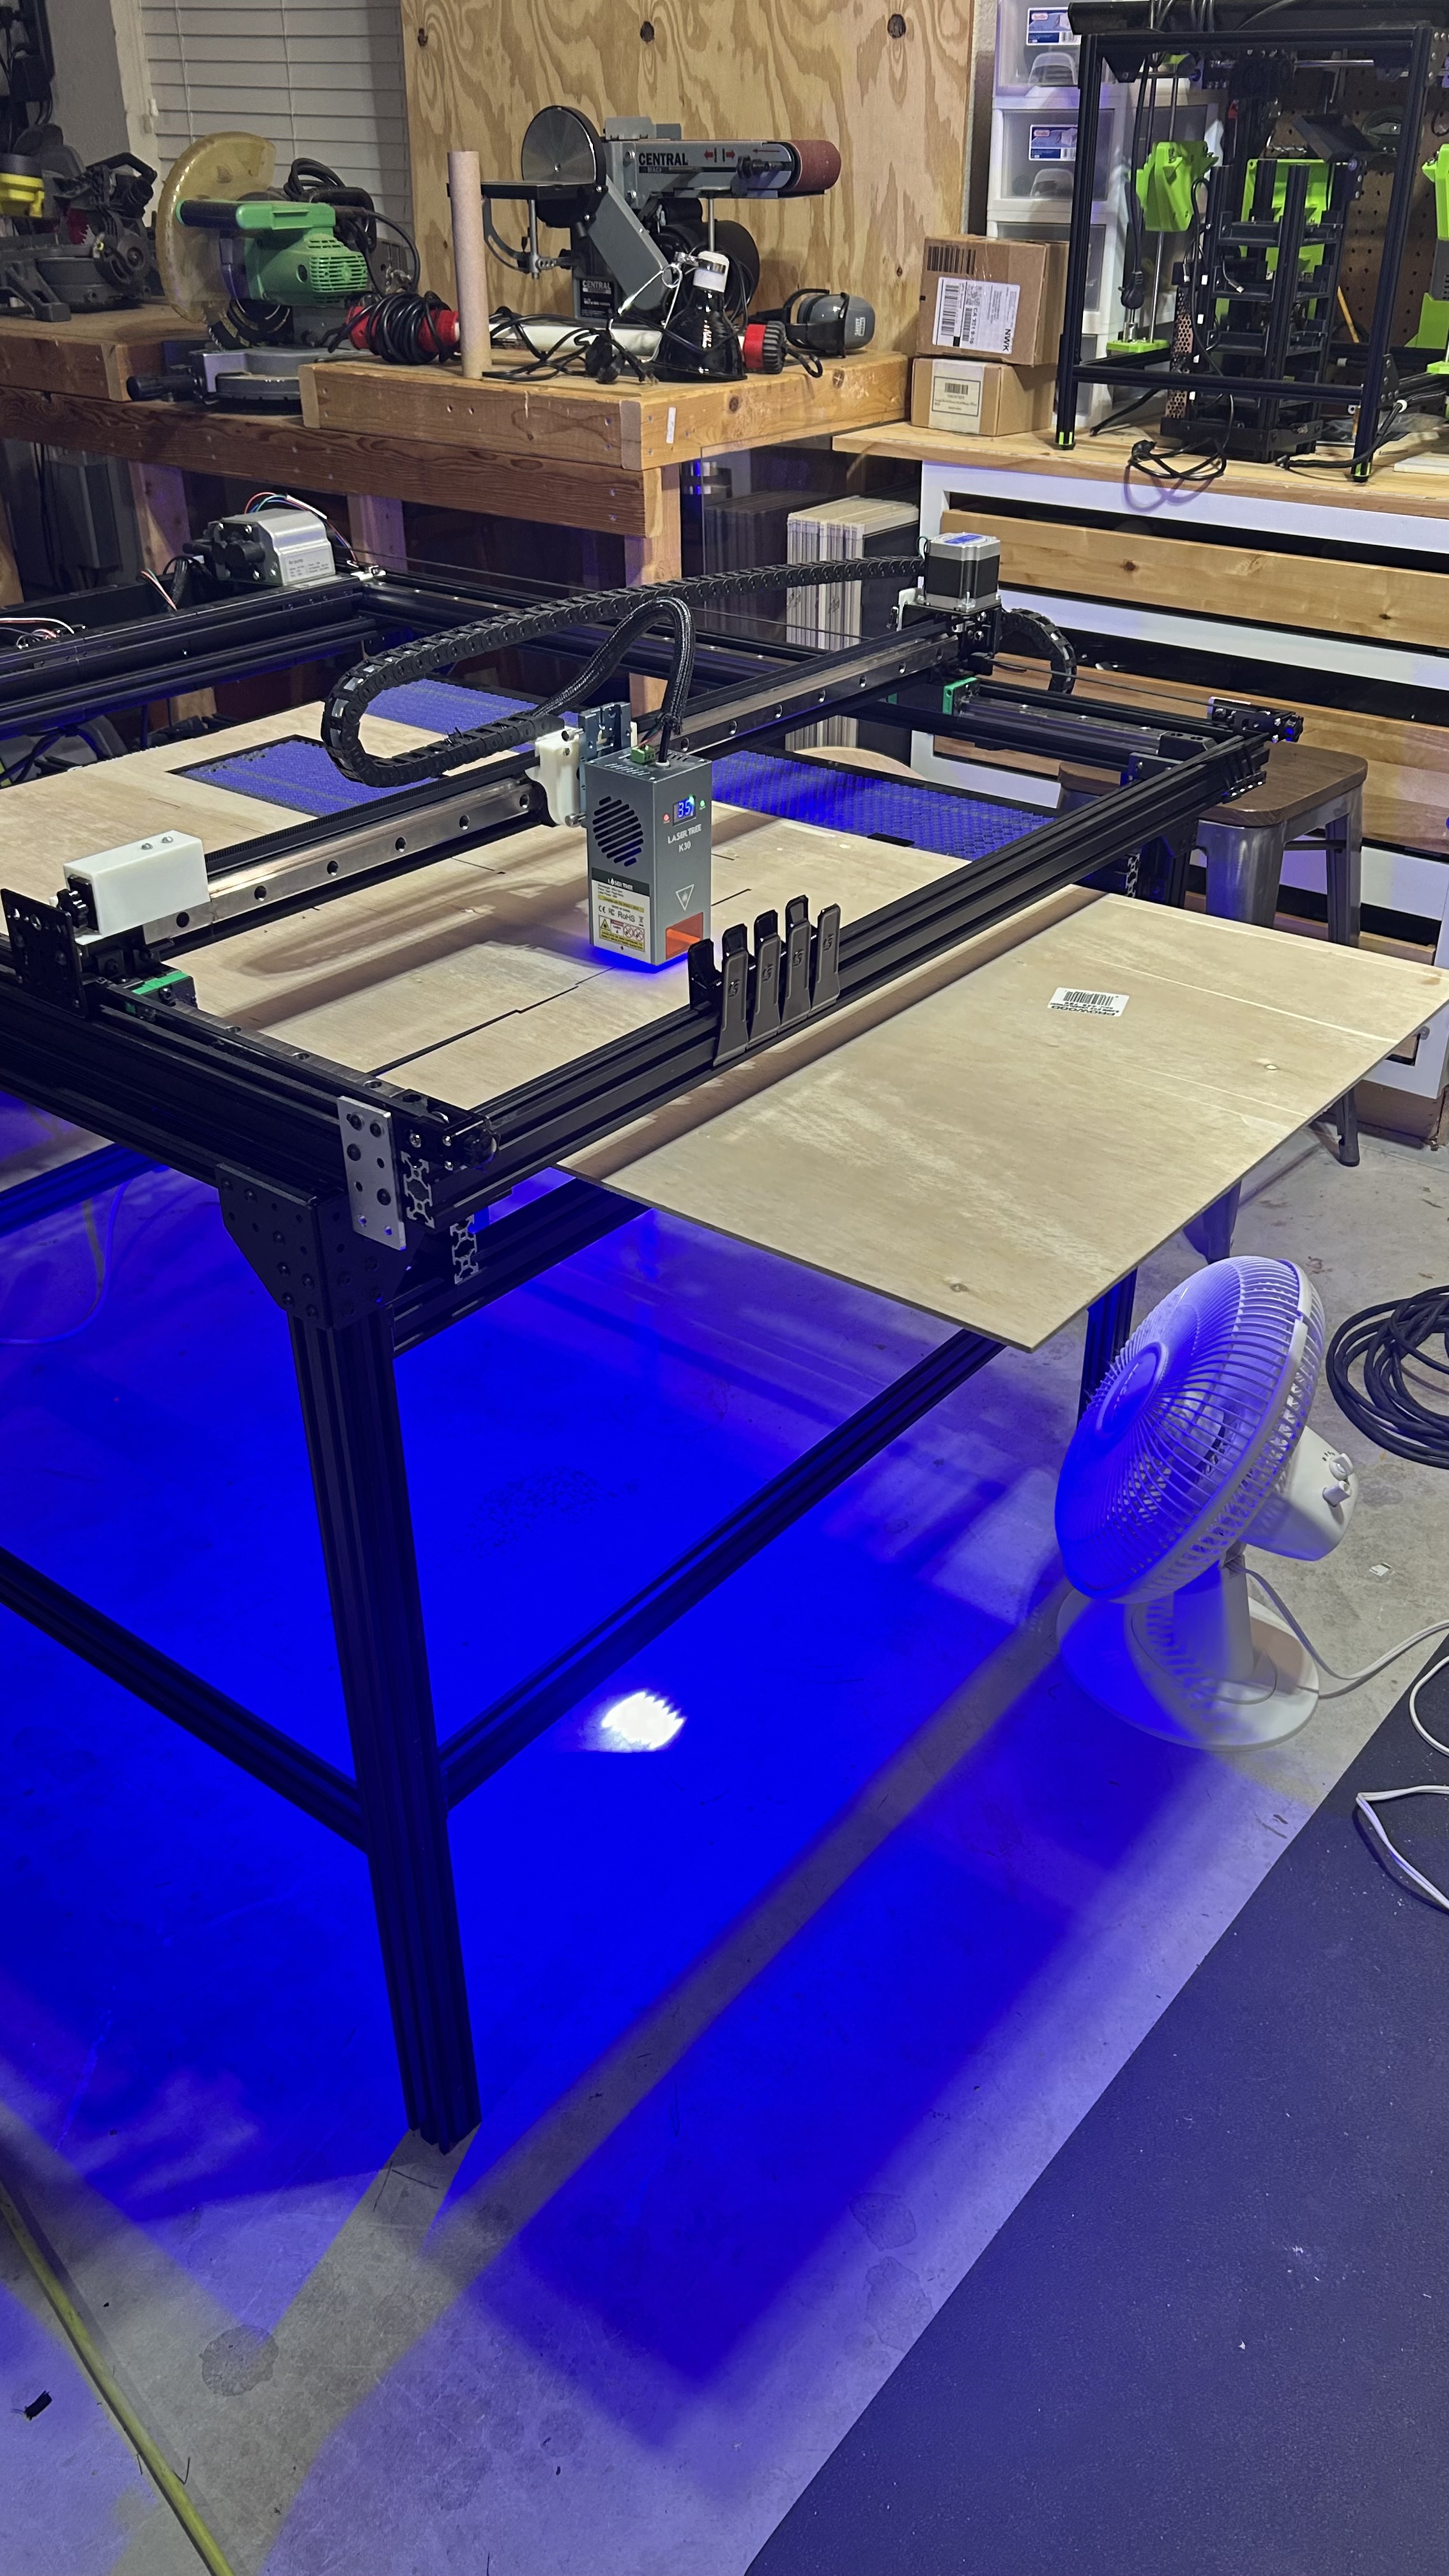
The final design changed the belt system, wiring, and end stops. There is still more to be done:
- expand the table's X axis to allow full use of the cut surface. (The corrugated cutting surface is 800x800, but I lost approximately 75mm due to the gantry redesign).
- add Z axis travel to allow the cut surface to move up and down.
- enclose the bottom with paneling. This enclosure design will allow for a better air-exhaust system, better control of the stray laser light, and protection from external elements.
- enclose the top with laser-safety windows to improve eye safety while others are around.

Bill Of Materials:
- coming soon...
Design Files:
coming soon...
Videos:
coming soon...